How to Reduce Your Waste as an Athlete
There are countless articles online about how to best live sustainably, and while I am incredibly thankful for each one and the person who took the time to share, they often frustrate me. Many, if not all, completely ignore the realities of trying to reduce my impact as an athlete.
Yes, it would be fantastic if we could all only wear recycled organic cotton or linen and ride around gracefully on our lovingly refurbished vintage bikes, but it leaves out so many of us whose hobbies and passions just don’t mesh with the perfect sustainable lifestyle.
This post started as a list of all of the things I wish people would share instead of saying that my athletic clothing is terrible for the environment. (And yes, the microplastic pollution is a problem, but I can’t ride my bike 1,000+ miles a year instead of driving my car in organic cotton shorts. My skin wouldn’t survive.) But you don’t have to be hardcore or training for something to follow these tips.
Your love of sports does not have to be at odds with your goal to live as sustainably as possible. There are nearly endless ways to make training and competing more sustainable. Here are just some of them.

Here’s what you can do as an athlete to cut the trash and reduce your impact.
Gear
Wear your clothes until they wear through. I still wear leggings with a hole in the knee from a mountain biking incident a year ago. No one at the gym seems to be scandalized by a quarter-sized peek of my kneecap. Technical clothes can last for years when treated right and taken care of.
Limit tech, and hold on to what you have. You don’t need to track every mico-movement (guilty). If your 4-year-old watch works just fine, keep it! You don’t need the latest gadget to be your best or set a new PR. Our gadgets and tech require destructive, toxic mining of rare materials, and yet we don’t hang on to them. Each year the average household in the U.S. throws out 400 iPhones worth of e-waste. While you’re at it, keep your cell phone until it dies!
Rewear clothes when you can. In the height of summer, I am not pulling out yesterday’s shirt for round two (unless I’m traveling or backpacking), but once it cools off a bit, my performance fabrics hang up overnight so they’re ready for the next workout. Wool is ideal for this habit, but if you already have clothes with silver fibers or anti-microbial treatments (not endorsing these fabrics) you might be surprised by how easily you can add another workout before a wash.
Buy your gear used when you can. Many major retailers are starting to sell refurbished used gear online such as REI, Patagonia, and the North Face, but the standby used marketplaces such as eBay, Poshmark, ThredUP, and Craigslist are still great places to search. It also doesn’t hurt to join your local Buy Nothing Group and put out a specific request for the thing you need—you never know what someone is looking to get rid of.
Buy your gear from ethical, sustainable companies when you can’t find it used. If not, buy from large companies like REI who are aware of their impact and working to reduce it or small, local companies who are trying to make positive change in your community.
Wash full loads of laundry. For me, this means that I have enough exercise clothes to get me through six workouts or so. (No, my clothes alone are not a full load, but when combined with my partner’s clothes it’s much closer.)
Use a Guppy Bag to wash synthetic fibers. Microplastic pollution is a problem we are only just starting to understand. What we do know that is that these plastic fibers are infiltrating our oceans, waterways, tap water, arctic snow, air, and our bodies. These bags aren’t a perfect solution, but they help trap the fibers so they don’t end up working their way through the waste treatment process and into the waterways near you. Even better: install a filter on your washing machine to best catch these fibers.
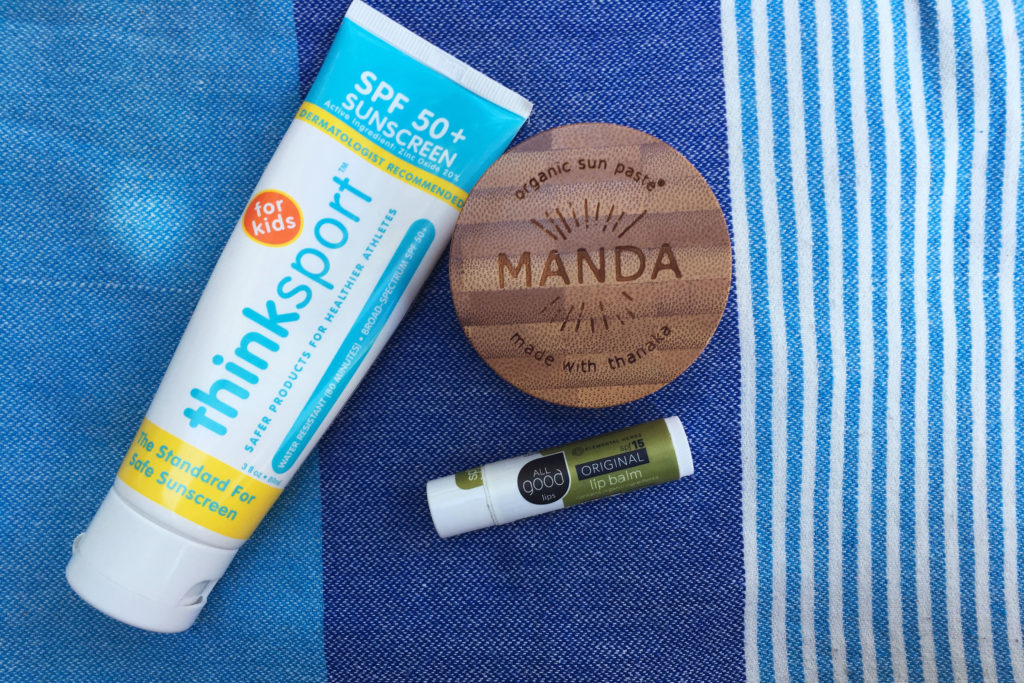
Invest in clothing with UPF coverage. Clothing with UPF/UPV coverage is your best protection against harmful rays while outside. They never have to be reapplied, you can’t sweat them off, and they provide complete, continuous coverage. Use mineral, reef-safe sunscreen everywhere else, don’t forget your hat and sunglasses, and when you can, avoid being outside during the times with the highest UV radiation, typically between 10 a.m. and 4 p.m. in the summer. Check your local UV index the night before an outdoor workout to pick the safest time to head out.
Repurpose, then recycle old clothes. When clothes are uncomfortable or no longer performing well (they’ve gone see-through, bunch and bag so they now rub and chafe, require constant adjustment or holding onto during activity, etc.), wear them for other activities. I wear less great clothes to the pool, on hot days, while gardening, to lounge in… you get the point. When they are really done, I recycle them at my local The North Face, which is the closest clothing recycling near me. Other places to look are at your recycling center, local thrift shop, and other outdoor gear stores. San Francisco even collects fabric curbside with regular waste pickup.
Recycle old shoes. You can’t get around the fact that many activities eat through shoes. Continuing to wear old, broken down shoes can increase your risk for aches and generally make you dread an activity you used to love. Replace and recycle as needed, and keep encouraging companies to use recycled materials in their shoes. Support brands who consider sustainability and have ethical manufacturing processes when you can. This isn’t as common yet, but the more we ask for it, the more brands will follow suit.
More: Homemade Shoe Deodorant Spray, What to do with Old Running Shoes, and How to Make Your Shoes Last.
Buy your new shoes from a local, independent shop to support your community and reduce the impact of shipping to your house. Most local shops let you try out the gear and give you attention a computer can never muster. My local running store once let me try on every shoe in my size to find the one that didn’t press on my still tender scar from my ankle surgery. It took an hour, and they were so patient with me. #shoplocal forever.
Say ‘no thank you’ to (most) race t-shirts, medals, and other swag. If you finished Boston, girl, rock that medal! But otherwise, your shelf and closet space will appreciate the break. You don’t need the extra stuff, and hopefully the more we politely decline these items, the more race officials will start asking if you want it and only making as much as they need. While you’re at it, start shopping your stash the next time you need a new shirt.
Wash mindfully and air dry your athletic clothes! They will last longer and it’s way better for the environment. Use natural detergents and skip the bleach and fabric softeners. White vinegar does an amazing job at removing any lingering odors in the wash, and the sun will also help freshen things up. Use less soap than you think you need to prevent the dreaded never-ever-been-washed-stink. Any soap that’s left behind after the rinse, and any fabric softener, gets trapped in the fibers and makes your clothes not wick as well. It also makes a nice feast for bacteria that share the bounty with smells strong enough for the whole class to enjoy! When my clothes are really bad, I use an enzyme stain remover/prewash and add white vinegar in the bleach spot of my washer. If you’ve used a whole bottle of vinegar and still can’t get the rank B.O. out of your hot yoga clothes, try a non-toxic, specially formulated sports wash like Nikwax Base Wash or Laundress Sport Detergent (although I’ve never had it come to this).
Use what you have. You probably don’t need that new recovery gadget. Things around the house or that you can find left behind at a park are often good enough or better. I found my lacrosse ball on the side of the street during a run and a golf ball in the bushes while riding my bike. My dad made me a PVC-pipe roller from scrap he found on a construction site.
Sleep is still the best recovery. And humans tend to ruin the planet less at rest.
Food and Supplements
Buy candy in the bulk section instead of gels or gel blocks for quick glucose during training. Those who can tolerate dried fruit or a banana while exercising can also find those package free. You can find small, reusable bags that will fit in your pocket or running pack to refuel on the go if just popping a few jelly beans straight in your pocket seems like a bad idea (it probably is). I’m currently considering pocket-sized Stasher bags for when I need to carry fuel on longer runs or rides.
Skip the processed ‘supplements’ and powders. Let’s ignore the packaging and the fact that supplements are not tested or regulated—two major problems that really shouldn’t be minimized—and instead just look at their impact on the environment. Fish oil is stressing food chains and contributing to overfishing. Collagen supplements come with the massive impact of raising animals, and they haven’t been found to actually do anything for you. Many protein powders have also been found to be laced with dangerous heavy metals and BPA. Nearly all supplements are heavily processed, and they require a great deal of energy and resources to manufacture and ship around the world. Go for whole fruits, vegetables, and grains grown locally instead. You can make your own electrolyte mix and get the nutrients you need from whole foods.
Vary your protein sources. Protein is important, especially for those who are more active, but there are plenty of healthy, robust source that don’t come from meat. While I personally follow a vegetarian diet, many studies show that a flexitarian diet that includes plant-based proteins and reduced animal protein is great for you and eases your impact substantially, especially when compared to keto or paleo diets that are extremely heavy on the meat. You may even recover faster.
Reduce your dairy intake. Cheese, milk, and other dairy products are responsible for about 3.6 percent of planet-warming emissions globally each year. While there is questionable evidence that chocolate milk (studies are often paid for by dairy industry groups and ignore high sugar content—a known inflammatory food) is a good recovery food, what the researchers are really looking at is a mix of protein, carbs, and fat. You can get that with coconut oatmeal and dried fruit, peanut butter on an apple, or a homemade granola bar for example. You don’t have to go full vegan—unless you want to—to make an impact. You can start out by switching to non-dairy milk such as homemade nut or oat milk or trying to buy 50 percent less cheese each week. Every slice counts.
Use a reusable water bottle, even when racing. If it’s too much to bring a bottle with you everywhere, vow to not buy single use bottles and instead keep a reusable cup or bottle at work and in your gym bag.
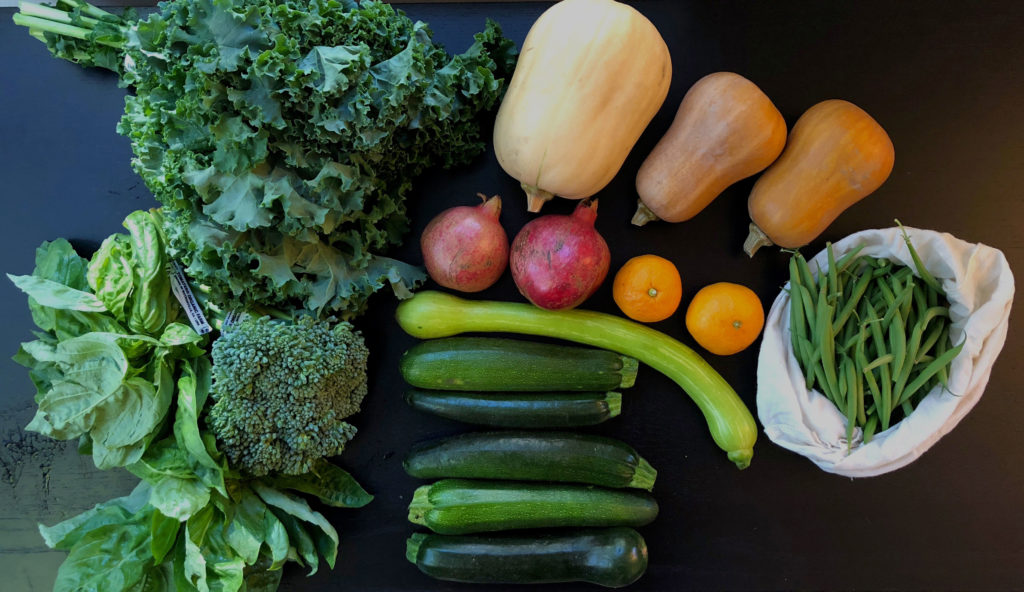
Freshen up. It’s no secret that everyone, not just people who are sweating it out, needs to eat more fruits and vegetables. Shop at your local farmers’ market to get fresh, package-free produce. When shopping in the grocery store, bring your own produce bags (even the plastic ones you already have around your house) or simply put things straight in your cart or basket. The only things I put in a bag these days are unwieldy, loose items such as unpackaged spinach, green beans, or mushrooms so they can easily be weighed (and not fall out everywhere).
Skip the single use packaging. Whether it’s putting your favorite snack in a sandwich bag or buying a single serving of chips, the grocery store is full of packaging that becomes waste nearly immediately. Whenever you can, skip anything that is packaged in materials destined for the trash. And while we are here, no, your chip bag, cling film, and produce bags probably aren’t actually recyclable. Contact your local recycling agency to confirm, but most curbside programs do not take thin plastic films because they get stuck in the machinery and are difficult to recycle.
Get your caffeine jolt from a sustainable source. Many grocery stores sell coffee beans and tea in bulk. Look for organic, biodynamic, and/or fair trade beans and teas. Compost your grinds or tea, or sprinkle them around your plants in the garden or the landscaping in front of your office or apartment. If you buy a drink from your local shop, don’t forget your reusable cup or mug.
Buy food in bulk. Athletes eat a lot, for good reason. Buy your foods in the bulk bins when you can or in the largest package available to cut down on waste per serving.
Lifestyle
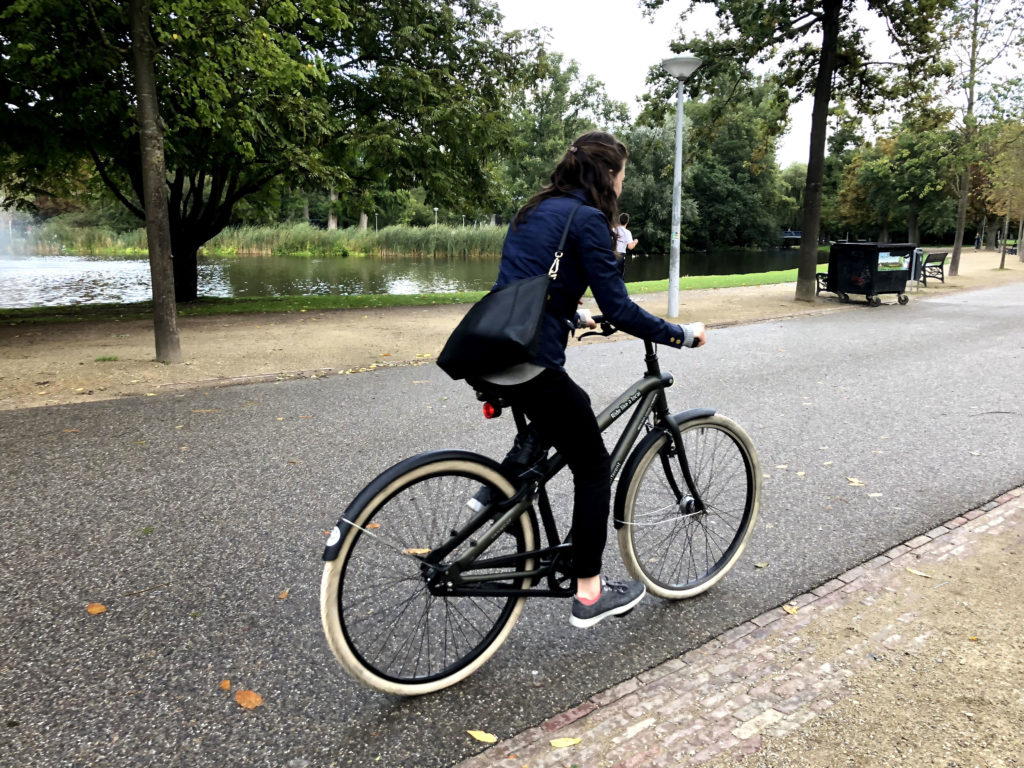
Double dip. If you enjoy endurance activities, consider using them as a way to get you to and from errands or work. I run to the post office (and run home looking like I stole packages off someone’s porch, but *shrug*). I also ride my bike to the gym, grocery store, and the pool if I fancy a swim.
Be mindful with showers. You don’t need intense soap to get clean. Mind your microbiome and only wash when really needed. I wash my hair every 3-5 days. Rarely, I will rinse with conditioner or a tablespoon of vinegar in a cup of water on days when my hair gets extra sweaty but am not ready to wash. A washcloth and a gentle, moisturizing bar of soap are all it takes to get my heavy-duty zinc sunscreen off. Don’t forget, the less time, the less water. Speed it up! (Talking to myself too.)
Do you do anything not included on this list to reduce your impact?


