Treading Lightly
Treading Lightly

I love pie

I could never pick a favorite dessert (even the thought of doing so gets me lost down a rabbit hole of amazing desserts that I must eat my way out of), but as a group, pie ranks pretty high. And while I love a well-rounded pie with a tasty filling, the crust is by far the best part – buttery, flaky, lightly sweet. A good crust can make or break a pie.

I’m known (and made fun of) for eating the filling and the crust separately. If the pie has a lattice crust (by far superior to all other types of pies for the additional crust and crunchy sugar), I carefully peel it off in one piece, eat the filling, and then enjoy the crust with whipped cream when available.

Even though I am fairly obsessed with pies (I don’t think I could pin another hand pie or pie in a mason jar), I haven’t made one on my own. I’m afraid to ruin the dough and the thought of having to make two separate pieces seems exhausting.

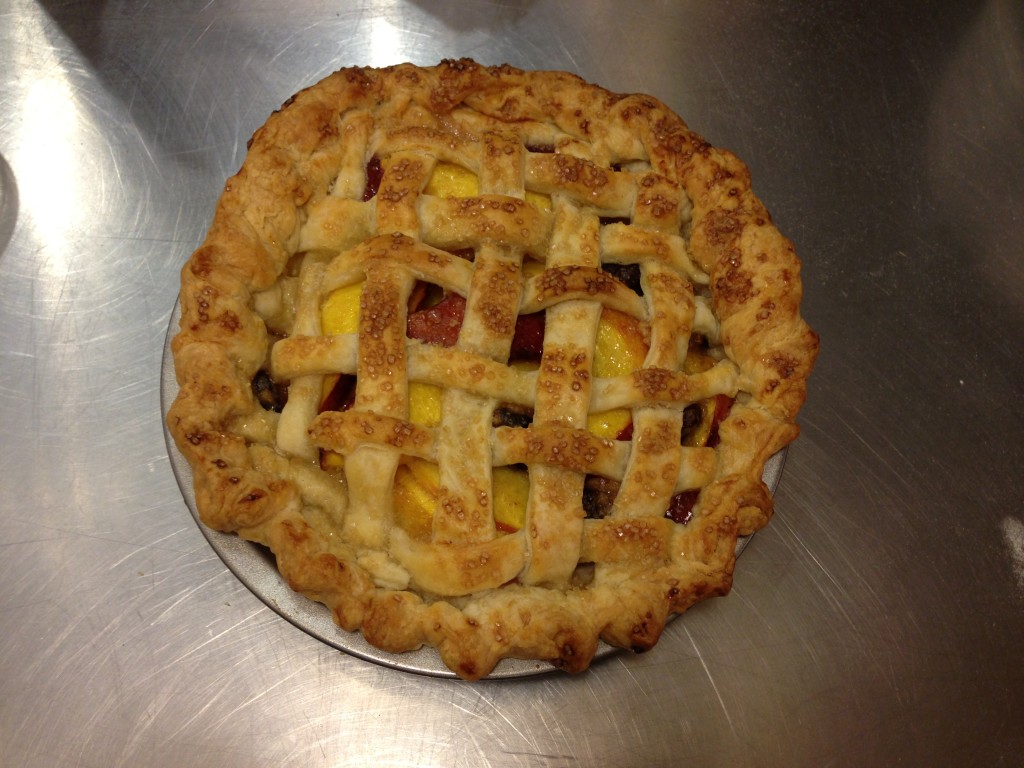
To get over my fear, my mom and I decided to take a pie making class. The part that sold me was that you get to eat what you make – Sign me up! handmade 6 inch pie sur la table pie making class
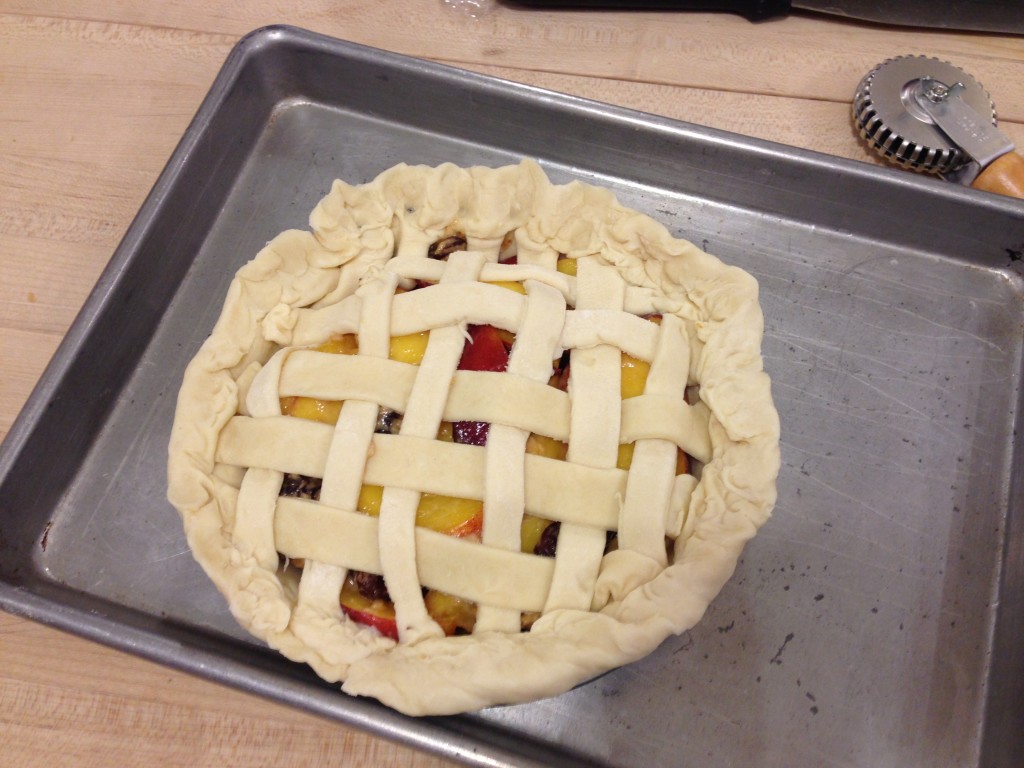
The pies we made were adorable. We got to try our hand at making a nectarine-cherry pie with a lattice crust and a key lime pie with a graham cracker crust. For obvious reasons I loved the nectarine-cherry pie, and ours turned out charmingly ugly but delicious. We used six inch pie tins, which for some reason made them even more appealing.

empty plate

After the pies came out of the oven the French pasty chef who was teaching us whipped up some cream quickly for us and we dug into our steamy pies. The amount of pie they encouraged us to eat was outrageous, but it sure was amazing.

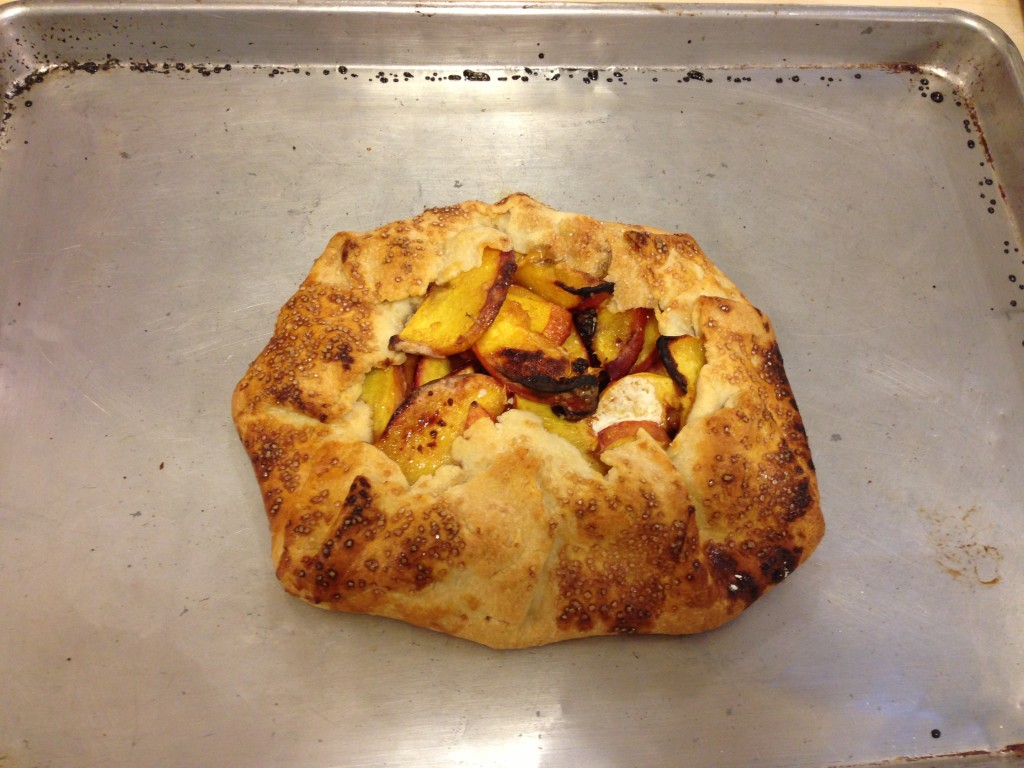
With a few leftover ingredients our teacher also showed us how to quickly make a galette, which fits my baking style a lot more than an intricately put together, time consuming constructed pie. The best part, all the crust and flavor of a pie without the fuss.

freeform handmade galette

Top Pie Tips:

  1. Always use extremely cold butter when making your crust to make sure the butter stays together to make flaky pockets
  2. Don’t overwork the dough. Only mix it until it just begins to come together.
  3. The food processor is your friend. It makes it easy to combine the dough without over mixing or heating it with your hands.
  4. Pie dough has to be constantly cold. The colder it is the easier it is to work with and the better it holds up to shaping and baking. Always refrigerate or freeze your dough between mixing it together and rolling it out and don’t forget to cool it again once it is in the pan before baking or full of filling.
  5. Sweet pies are always better with a touch of powdered in the dough.
  6. You can never have too much pie.
Happy Faux Thanksgiving

This whole holiday season is already a blur for me. Working in magazine publishing means that the entire month of October was all about Christmas thanks to finalizing the December issue and sending it to the printer. It put my whole mind into a weird twilight zone where the weather had yet to fully cool and I was prepping for Christmas trees, cookies, and resolutions. By the time it was Halloween we were well into January and I felt like the holidays were over and it was time to prep for spring.

To make things even more confusing to my already muddled mind, my family celebrated Thanksgiving two days after Halloween. Because many of my family members were invited to multiple holiday dinners, we decided to do this years feast a bit early. It turned out that the only day in November that we could all make it was Saturday, so we had a very early celebration.
Moonraker sunset view pacifica, ca
We kicked off the weekend with a beautiful dinner overlooking the ocean before diving into our traditional meal on Saturday. My brother and I did our own Turkey Trot in the morning to substitute for our previous plans to run a real race. The weather was great (another bonus of having three less weeks on fall’s side) and we had a blast making jokes about what everyone else was doing on “Thanksgiving.” We withheld from running in full out costumes (or any themed attire), but I think if we should repeat the experience next year we should go all out.

For dinner we had our usual spread: salad, mashed potatoes, gravy, turkey, stuffing, and vegetables. I am not a big fan of Thanksgiving foods (mashed potatoes don’t interest me, I avoid gravy and turkey like the plague, and while I love stuffing, it makes me feel horrible). I was mostly interested in one of my favorite salads and the classic pumpkin pie, but the meat eaters were pleased that yes, you can get a turkey outside of the last week of November.
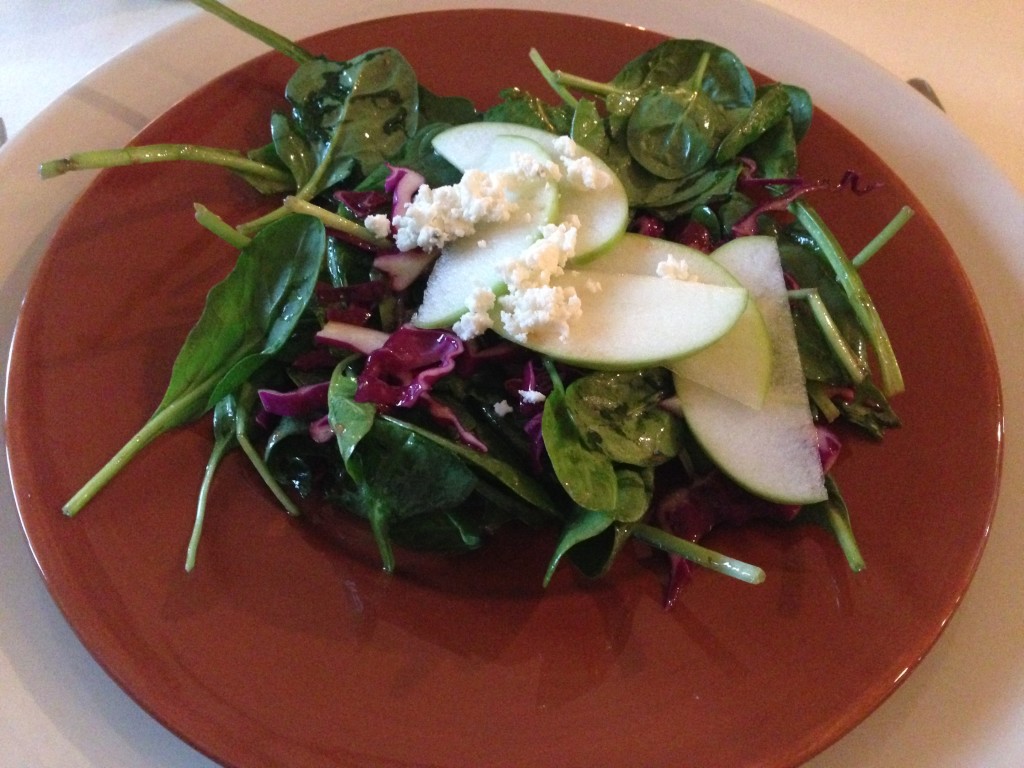
Thanksgiving salad with apples

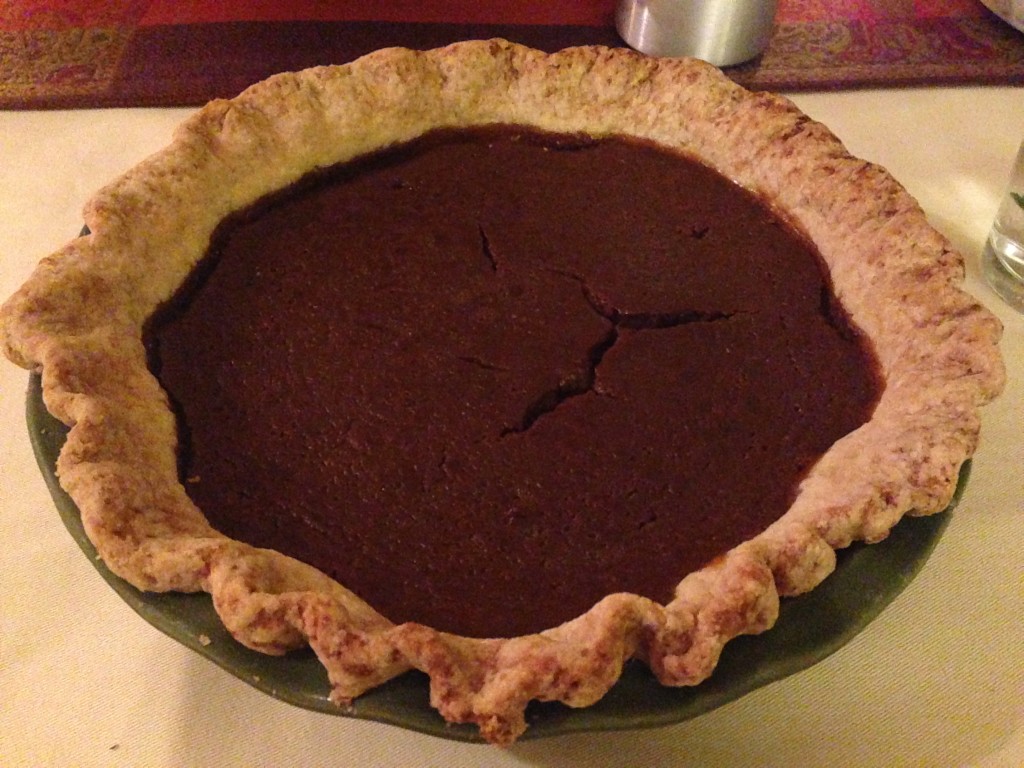
Thanksgiving pumpkin pie

Despite being three weeks early, it was a lot of fun. There were no lines at the grocery store, no intense holiday traffic, and no painfully scripted Thanksgiving television in days preceding. It was by far the most relaxed holiday we have had.

Just Say no… to Halloween Candy

I hate to admit it, but by this time last year I had nearly finished off a huge bag of candy from a bulk store by myself. To say I have a sweet tooth is a serious understatement. My freshman year of high school I had a bag of skittles almost every day after lunch. I love dessert, and I don’t think I have ever uttered the words “too sweet” in my life.

With that said, I have not had a single piece of Halloween candy this entire month, and I’m not going to have any. As people bring in bags of candy to work, the candy bowl sits by the door of my house, and millions of children load up on the sweet stuff, I’m going to say no.

It’s not that I don’t like Halloween, but rather I have worked so hard to finally cut back on my sugar intake and I’m not willing to let a single “fun size” package of candy blow my entire 33 grams.

But my “just say no” policy will continue throughout the year because:

  1. Candy is not healthy or natural
  2. Between the packaging and the incredible amounts of processing, it is incredibly unsustainable and wasteful. Think of all of the small wrappers that will be thrown out in the 48 hours surrounding Halloween alone.
  3. Many chocolates are made with child or slave labor in poor working conditions.
  4. The food dyes and other additives are chemicals that have been linked to health problems and behavioral issues, not to mention their carcinogenic chemicals.
  5. There is no benefit. I may love the taste and enjoy the sugar rush, but heavily concentrated sugar does nothing but damage.

Homemade Latte

I have always been a tea person. The only time I ever drank coffee was when my great grandmother would make me “coffee” with a few tablespoons of coffee and a full cup of milk when I was a kid. Once my parents got a small espresso machine, it started to grow on me.

For people who spend $20 on coffee each week (or the average American who spends $1,092 on coffee each year), having an espresso machine at home saves money, but does it save resources as well? For people who get a disposable cup, lid, and stirrer every time they go to the coffee shop, it’s quite possible that over the lifetime of the machine (years if treated properly) could save carbon emissions and paper/plastic waste.

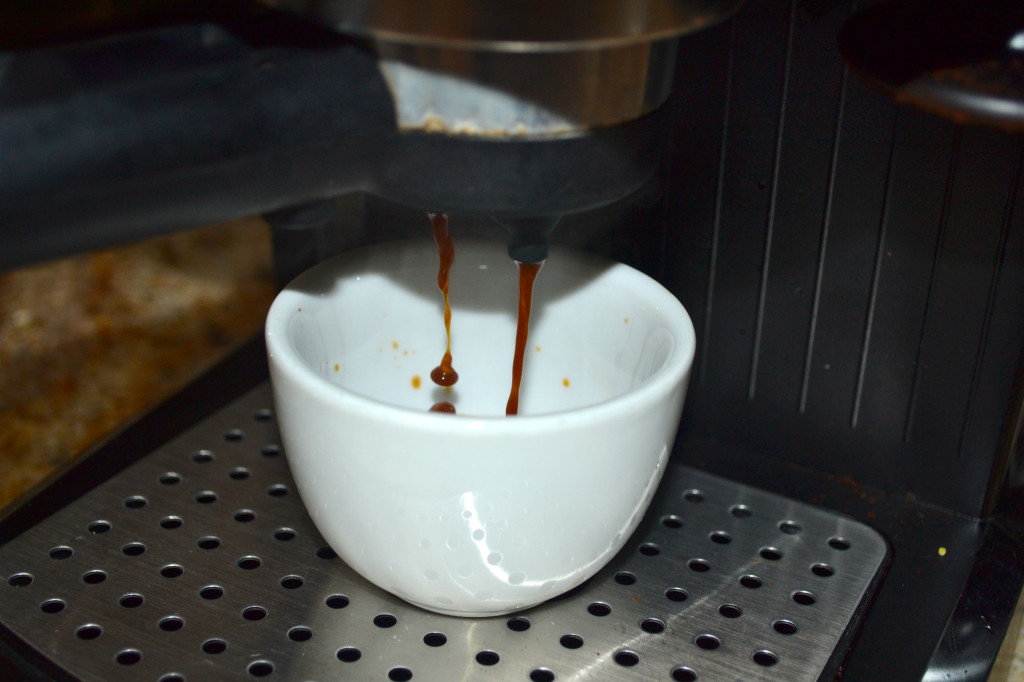
homemade latte drip
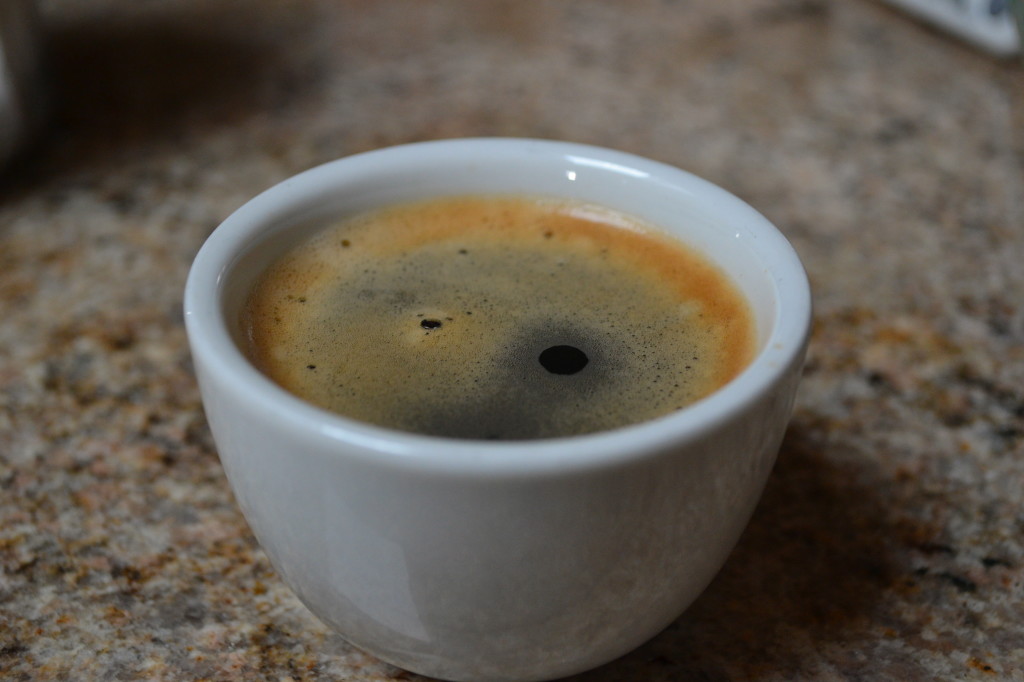
homemade latte crema

While I’m not saying that every home in America should have an espresso machine (although many already do have a coffee pot), I sure do enjoy having one I can use at work. And let’s face it, foaming milk is fun.

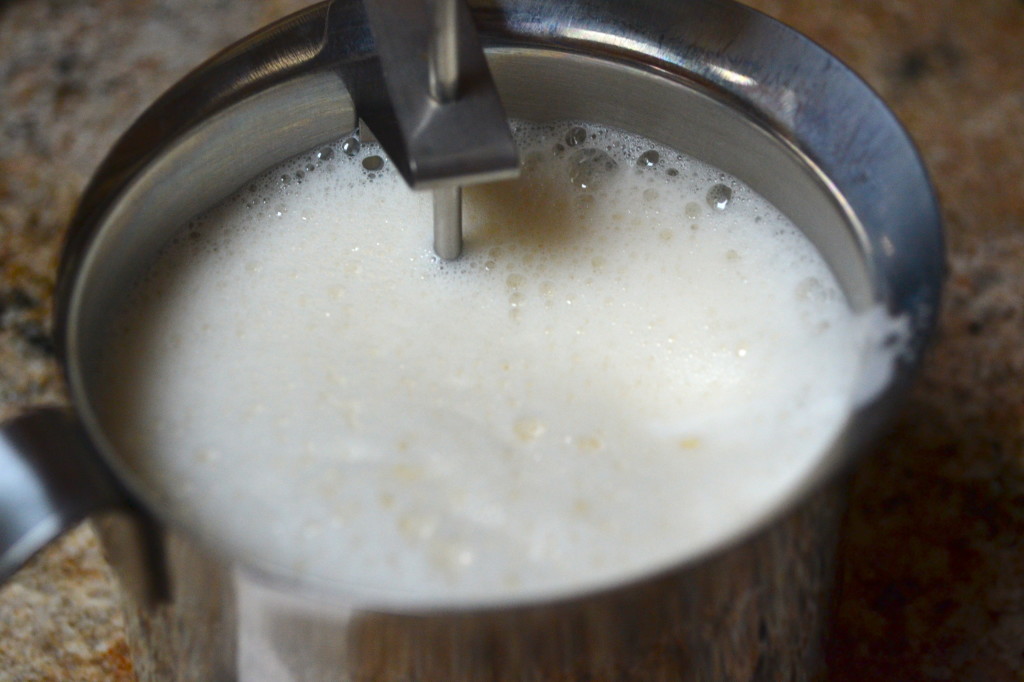
homemade soymilk foam for latte
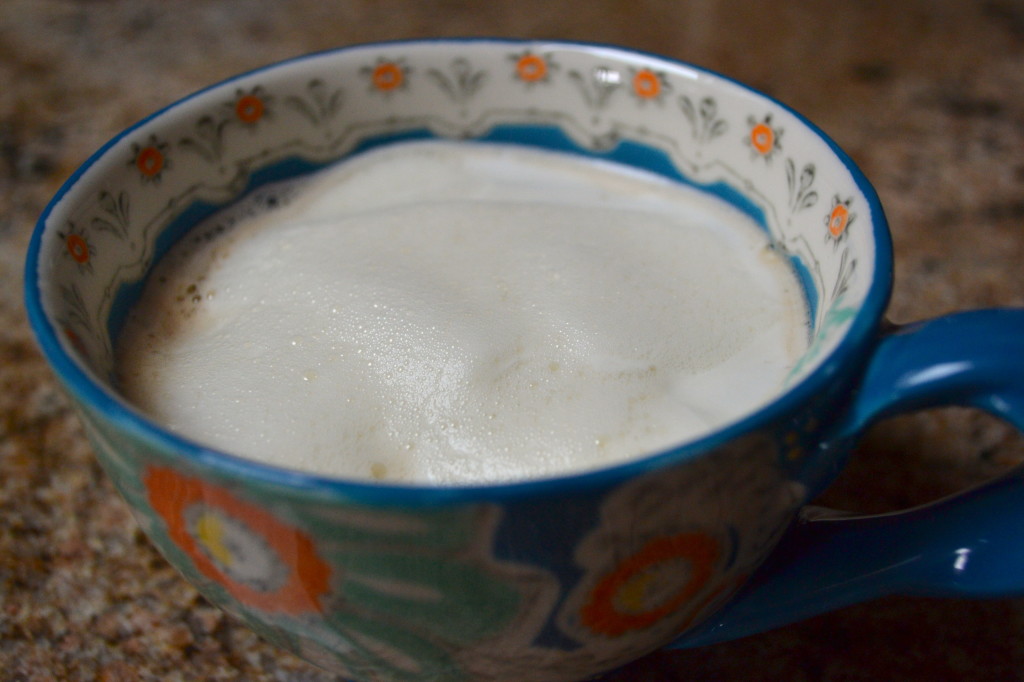
homemade soymilk latte

Even though I have convenient access to espresso machines, I still hardly drink coffee. Because the coffee itself is resource intensive to produce and ship around the world (not to mention the poor living conditions for many of the farmers or people who live near commercialized coffee farms), it’s something I try to save as a treat instead of a daily necessity.

Rainbow carrots to brighten a lunch

Do you ever have those days where you are sitting at work thinking about lunch and you wish you had everyone else’s lunch and not yours? I fall into the trap of making whatever is easiest, including reaching into the freezer the night before and deciding that random leftovers would be better than actually taking the time and thought of making a lunch I will be excited about.

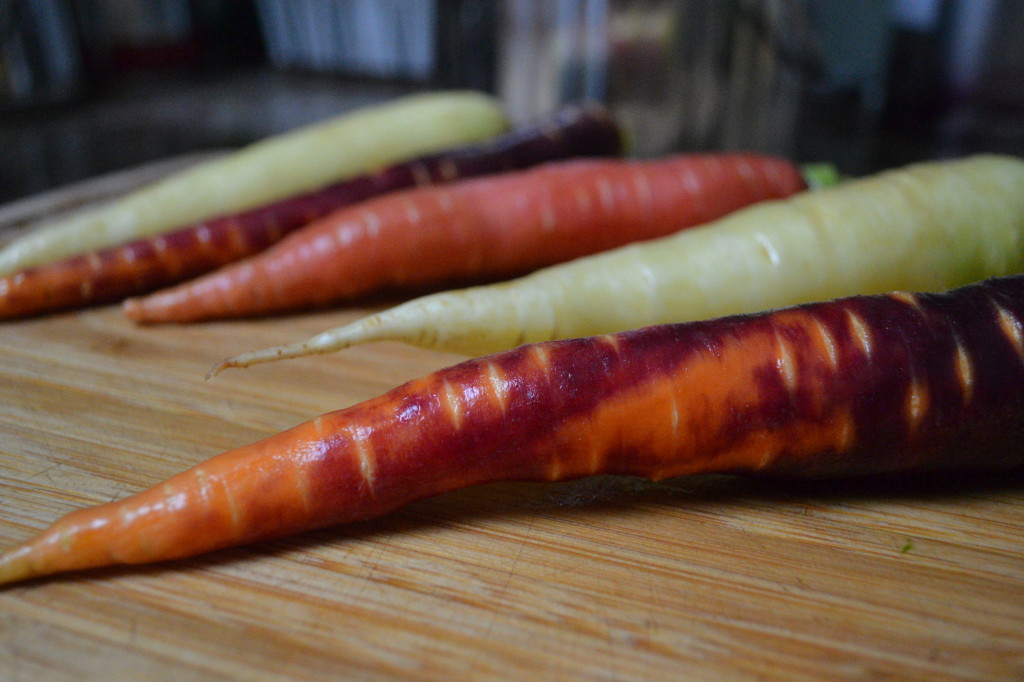
One thing I like to do to break the monotony with fun new vegetables, dips and dressings, and snacks. I have always been drawn to rainbow carrots in an unexplained way. The taste is not all that different from your every day orange variety, although they are slightly less sweet, which makes them easier to dip in just about anything. To be honest, the color is the real draw. I mean really, how often do you get to eat something so vibrant (or as fun as a carrot that is purple on the outside and bright orange in the inside?).

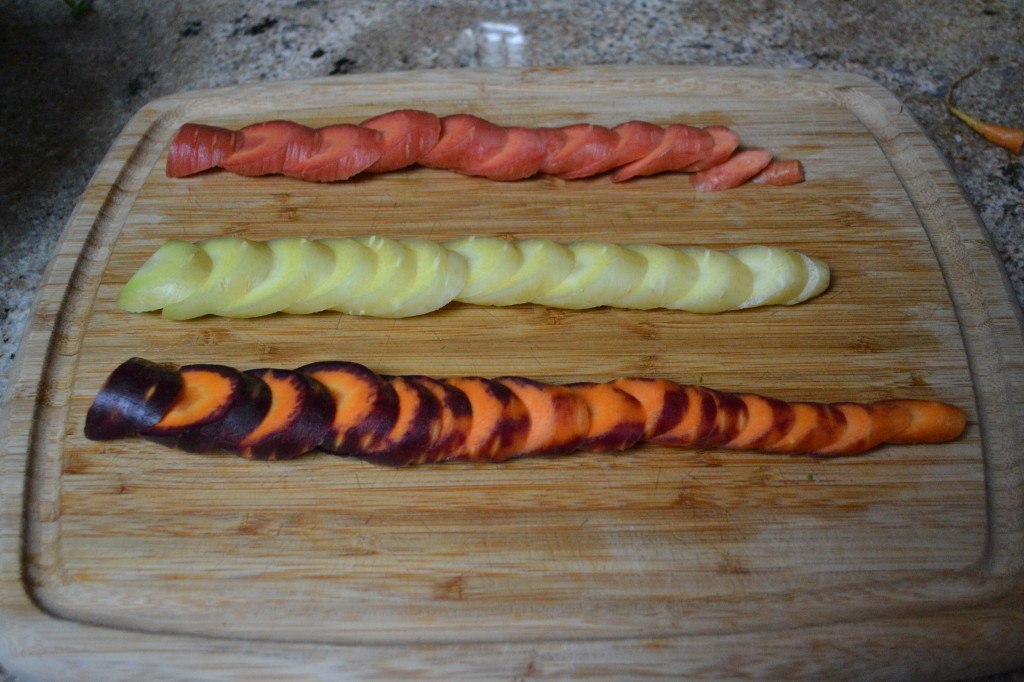
Rainbow carrots 1 rainbow carrots cut

Lately I have been cutting them up like “chips” and eating them with humus. I also cut them finer and add them to salads for crunch (my vegetable substitute for a crouton). They are also nice to snack on by themselves. While I might be eating something I have unearthed from the freezer, at least I will have a little something to brighten my day.

Healthy, homemade granola

When people would tease me for being a hippy I would always joke that I don’t make my own granola. Too late now. With my nut allergy, the store-bought granolas that won’t kill me tend to be either extremely high in sugar or nutritionally poor (or both). It’s also like pulling teeth to find any at all that don’t have nuts in them.

But even if you don’t have to worry about nuts, homemade granola can save you money and waste. Not to mention it gives you complete control over the nutrition and the flavors. You can make your granola completely your own by adding in or taking out whatever you want. In theory I could make my granola different every time, but why mess with something that works?

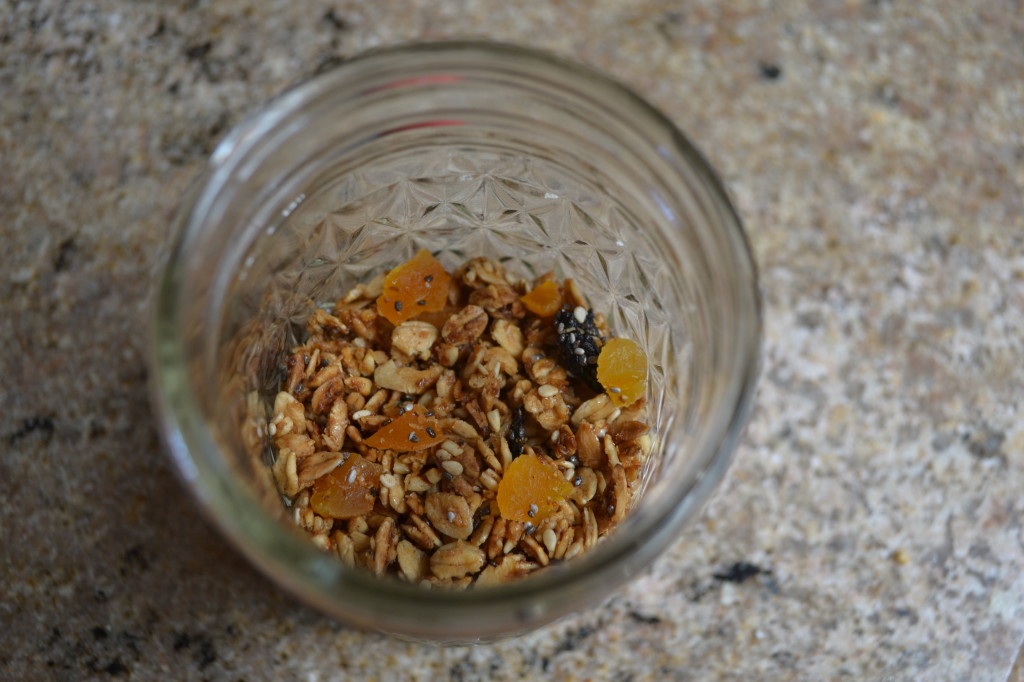
healthy homemade granola in mason jar

Ingredients:

coconut oil for pans
3 cups thick rolled oats
1/2 cup steel cut oats
1/2 cup shredded coconut
1/4 cup sesame seeds
1/4 cup chia seeds or 1/4 cup flax seeds (or both if you are feeling daring)
1/4 cup amaranth, uncooked
1/4 cup brown sugar or honey (I don’t usually pack it, but if you like your granola really sweet you can)
1/4 cup maple syrup
1/4 cup coconut oil
1/4 cup freshly squeezed juice from an orange
1 teaspoon (or more depending on desired taste) ground cinnamon
1 teaspoon pure vanilla extract
1 and 1/2 cups diced dried fruit (I like apricots and tart cherries, but apple, cranberries, or any other dried fruit would be good.)

Recipe

1. Preheat the oven to 300F

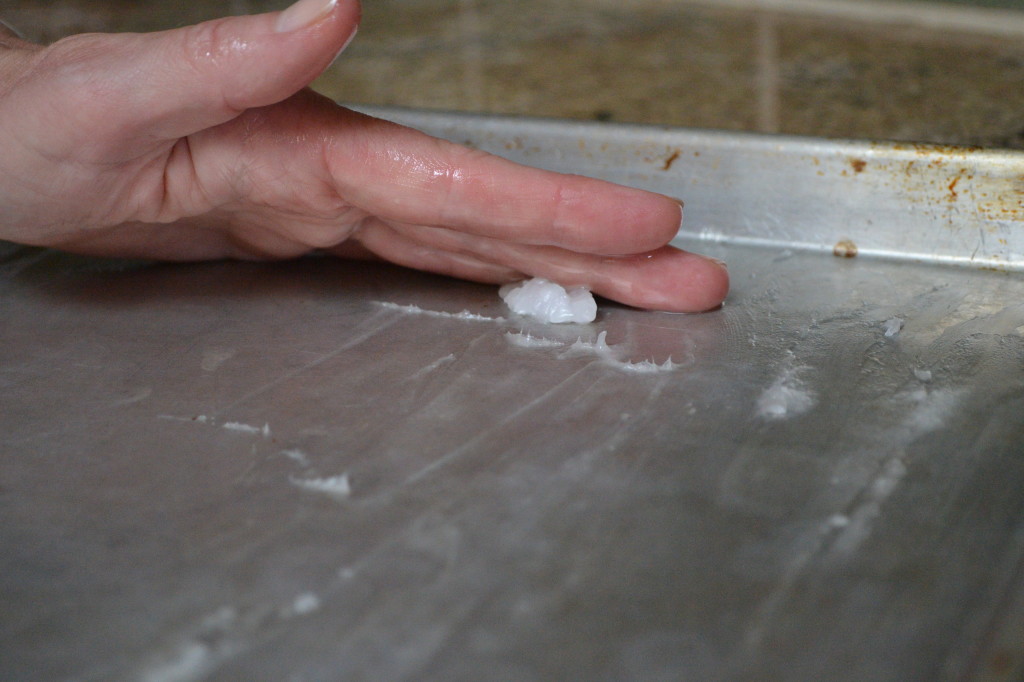
2. Lightly grease two baking sheets (you absolutely want ones with sides for this or you are going to have a nightmare of sticky oats to scrape out of your oven and off your stove).

homemade granola coconut oil

3. Combine all of the dry ingredients in a bowl (except the sugars, spices, and dried fruit) and mix well.

4. Combine the wet ingredients including the brown sugar, maple syrup, coconut oil, cinnamon, and spices. Whisk well until combined. (I melt the coconut oil before I try to combine to make it easier and help the sugars begin to melt.)

5. Mix together the wet and dry ingredients from steps 3 and 4 in a large bowl (everything except the dried fruit should be included).

6. Divide the mixture between the two baking sheets with sides that you had greased earlier and spread them out as evenly and thinly as possible.

7. Take the sheets out of the oven and flip/mix the granola every 10 minutes to prevent it from burning or drying unevenly.

8. Bake until its a deep golden brown, between 40 and 60 minutes depending.

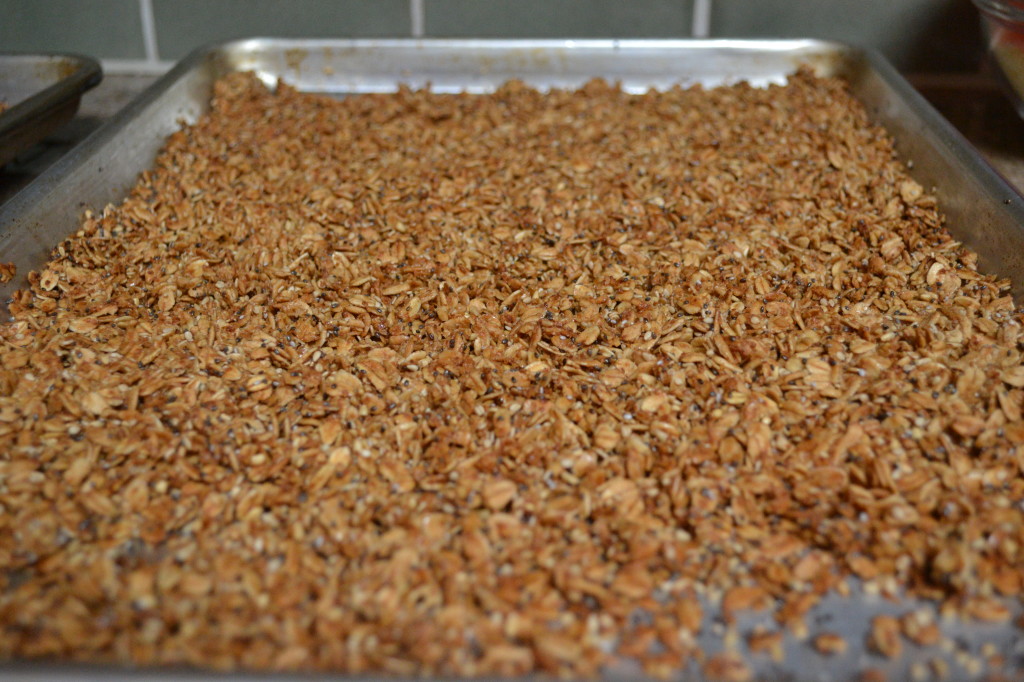
9. Once you like the color, pull them out of the oven. However, be ware that if the granola is not dry enough it will be a clumpy mess when it dries and it will be like trying to chew threw a granola brick, so you do want to be sure that is a deep brown, not lightly browned. The tricky part is that no matter when you pull it out of the oven the granola is going to be sticky and moist until the sugars harden up again and make it crispy and crunchy. Put the pans on a wire rack and allow them to cool completely.

homemade granola
10. When the granola is cool, mix in the dried fruit and put it in an airtight storage container. You can store it at room temperature for a few weeks or put it in the freezer to extend it’s life.

Recipe adapted from Tom Douglas’ The Dahlia Bakery Cookbook.

My daycation

I’ve been dying for a vacation. I started work in the middle of finals week, and it’s been go go go ever since. This weekend my family and I took a day trip to Lake Berryessa, exactly what I had been waiting for. I know it’s no trip to Hawaii and it doesn’t stack up against my peers who have been traveling across Europe in the wake of graduation, but it was just what I needed.

We usually go up to the lake at least once a summer, but every time it’s like learning how to water ski all over again because it’s been so long. But it turns out all of the CrossFit I had been doing had me well prepared. Normally after a few runs I’m too tired to drag myself up out of the water and my grip is hopeless against the tug of the boat. This time I was able to ski as much as I wanted and I didn’t have to let go of the rope once because my muscles just couldn’t take it anymore. I was also able to cut in and out of the wakes easier (90 percent bravery, 5 percent strength, and 5 percent skill), which I was excited about.

I know what you are thinking “Wait, you did what? Who skis anymore?” My dad grew up water skiing and spent most of his summers on this lake. It’s family tradition and none of us own anything fancy like a wake board. Or maybe I’m just trying to start a new old school is cool hipster trend.

Which isn’t to say that I never fell down. I fell a lot, but got up laughing each time. Sometimes it’s just too ridiculous to not laugh at yourself.

But one of my favorite parts, besides spending time with family and getting away from the to-do list for a while, is always the delicious food we bring. This time we had oatmeal chocolate chunk cookies, a zesty and hearty quinoa salad, homemade roasted vegetable sandwiches with a vinaigrette dressing, and a mayonnaise free potato salad. For only being a day it was a blast and a great little vacation.

Nike Women’s Half marathon training week 1

When I signed up for my half marathon in April, I imagined lacing my shoes and starting slow and steady in May. That has not been my half marathon training reality. After more than two months of not running at all, the October race date is breathing down my neck and I am trying to figure out how to play catch-up.

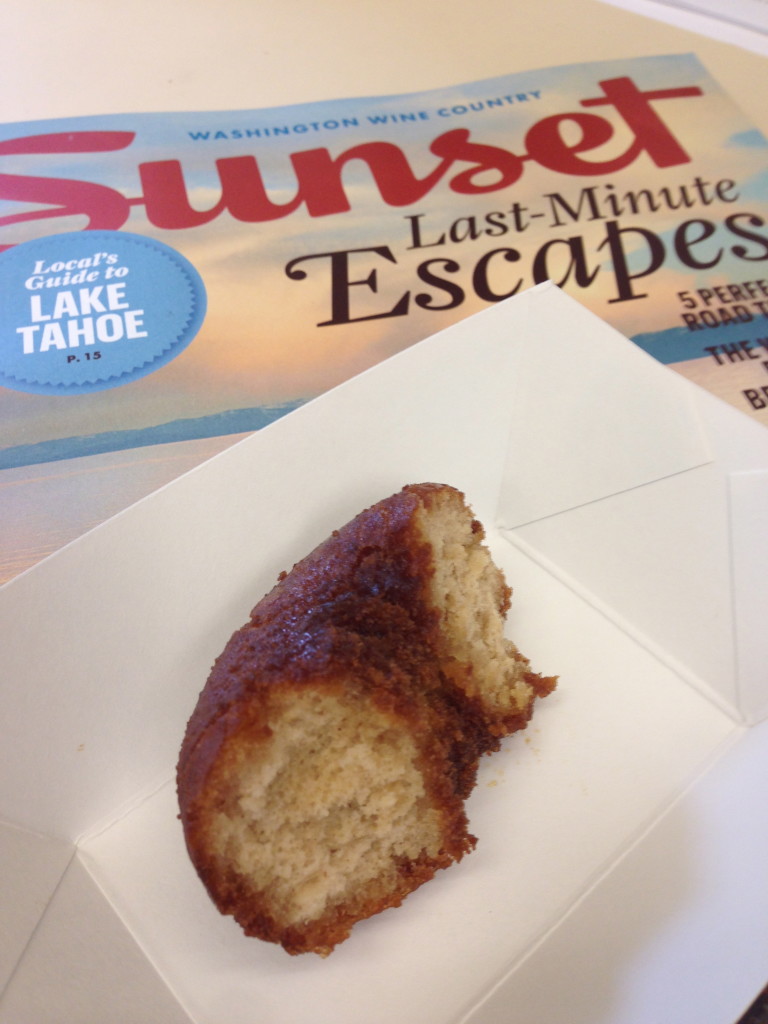
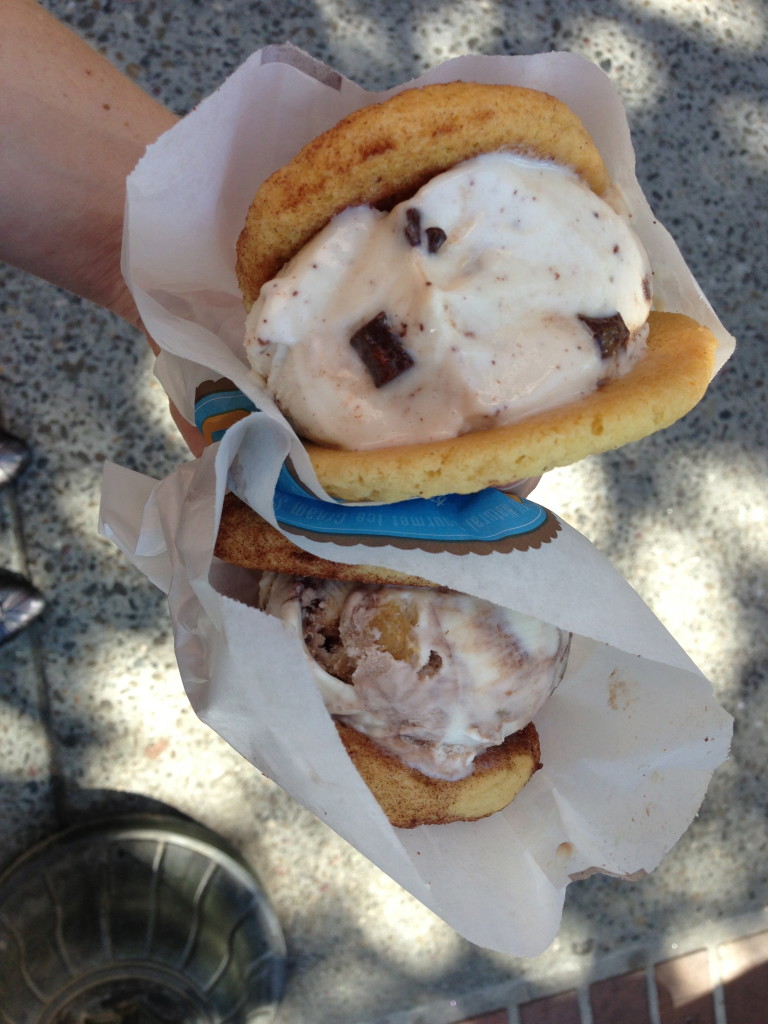
Instead of running over the past few weeks as planned, I have been “fuelling up” (read excuse for eating a dessert). I dipped into the homemade donuts from the Sunset test kitchen and tried out a new ice cream sandwich place that actually sells soy ice cream.

IMG_1920

IMG_1902

With only 12 weeks to go I want to hide like the family cat.

IMG_1899

But instead I’m hitting the road three days a week and slowly but surely adding miles each and every week. If only a half marathon was only 3.1 miles, then I would be set.