Treading Lightly
Treading Lightly

Sustainable Gift Wrap

One of my least favorite things about Christmas is the waste created. The garbage cans full of wrapping paper after Christmas are frightening. This year instead of finding cloth wrapping or buying a reusable vessel to put my gifts in, I reused the packing that came in one of the boxes from an online order and some old scraps of yarn I had to make sustainable gift wrap.

DSC_0779 - Version 2
DSC_0793

The wrapping didn’t cost me anything and kept waste out of my trash (or recycling) can. Not only that, but they will be easily recycled or composted when they are done, and I have plans for them after they are no longer gift wrap, so that won’t be for a while.

Buy Nothing New… failure.

I love the idea of buying nothing new. I think the campaign is a great way to get people to rethink their consumption and their buying habits. It is also an eye-opener for people to realize that Christmas doesn’t have to mean massive shopping and piles of gifts under the tree. I fully support the campaign… but I didn’t follow it.

 Image courtesy of The Clothing Exchange
In my family there are rarely surprises at Christmas (you get what you ask for, which is great) and we fully believe in buying items that you need and will USE. Typically this means that t-shirt with the holes in gets repurposed into a rag (usually after being threatened by my mother as to what will happen if we ever wear it again) and its replacement is settled under the tree. If there is nothing on your list than you get yummy treats in your stocking, a good magazine or two, and extra attention on Christmas, not something you don’t want or need.
While I love the campaign and all that it means, I don’t do much shopping for myself or others outside of the holidays. My whole family hates shopping, and we much prefer to wait until we desperately need something to go out and buy it.

With that said, I have an athletic clothing addiction. Do I use them all? Yes. Do I need them all? Probably not. So my buy nothing new challenge for myself is to make it through the rest of winter and spring without breaking down and buying another piece. There are better ways to reward myself for my hard work. And maybe a more focused version of buying nothing new is more reasonable for people.

Ready, set, study

Somehow it’s finals season again (it feels like every two weeks on the quarter system), but that means in less than a week I will be reading great books, baking, and knitting. I will be able to get started on my Christmas gifts and finally enjoy a couple weeks to myself without the constant deadlines of school (just my other two jobs).
crema chai tea and cinnamon
In the meantime I will be in our favorite local coffee shop sipping on a chai and trying to stay focused long enough to get everything done.

Sustainable Homemade Halloween Costumes

Halloween is a day to express your creativity, let out your inner self or just parade around in your underwear for all to see.
But the holiday has a terrifying undertone that has nothing to do with the hordes of vampires and half dead roaming the streets. Halloween costumes alone account for 6,250 tons of landfill waste per year according to an article in Real Simple Magazine. That doesn’t include the face paint, makeup, candy wrappers, pumpkins, decorations or any other spooky accoutrements.

This year your duds can help reduce waste and still wow the crowd. Don’t worry if you aren’t sure what you will dress up as yet. These tips will make sure your costume isn’t a drain on your celebration, or the environment.

Instead of having to wait in line at a store and come home with something you and 10 other people will be wearing out, make your own costume. You don’t need to know how to sew expertly, or even at all, to make your costume possible. Materials as innocuous as colored paper, cardboard or even tin foil can be shaped and finessed into a one-of-a-kind showstopper.

If you are more adventurous you can use fabric or old bed sheets and turn them into something new. Just be sure to use natural fibers like cotton and avoid polyester and other petroleum based products. Clothing you already have can easily be transformed for a night of mystery.

A thrift store can be full of great costume treasures. They have everything from ugly Christmas sweaters, to fully assembled costumes from Halloweens past, and even a ball gown for your prom from hell.

Better yet, instead of having to pay anything, shop your friends’ closets. Ask for clothes they don’t use anymore, things they hate or something you can trade them for. You can also borrow clothing if your plans do not involve complete destruction. Who knows, your friends may even have a completed costume lying around.

If you are feeling incredibly uninspired this year, consider wearing a costume from a different event. Break out that toga, your neon T-shirts and fanny packs, or your garb from Bay to Breakers. Just about any old costume could easily transform you into a zombie with a little fake blood and paint.

When the jack-o’-lanterns have burned out and the beetle juice has dried up, hang onto your costume. You can give it to a friend for a future costume party if you don’t want to wear it again. Or better yet, create a costume that can be incorporated into your everyday wardrobe — just be sure to leave the beetle juice at home.

This article was originally published in The Santa Clara

Incredible homemade strawberry jam

I spent the weekend feeling more like a 1950s housewife than a 21-year-old college student home for the summer. I have been testing Pinterest cleaners, and today I broke out the old jars and made some homemade strawberry jam.

The strawberries from our local farmers market had been incredible, and I decided it would be great to make jam out of them like my mom used to do with my brother and I when we were younger. I remembered the incredible smell of sweet strawberries and licking the sticky syrup off my fingers when we were all done. It turns out making jam is a lot more work than I remembered, but it was absolutely worth it. I can’t wait to make toast in the morning and then drizzle some of the jam over some soy ice cream after dinner. Yum.

Ingredients:
16 cups cleaned, hulled, halved (or cut down more if larger) strawberries
6 cups granulated organic sugar (if sour and unripe, if ripe and sweet, use 4 cups or less)
8 tablespoons powdered fruit pectin
1/2 cup organic lemon juice
Recipe:
From Care2
1. Prepare your strawberries (also, don’t forget to wear dark colors or an apron throughout the entire process. Making jam is messy and will easily stain all clothing and towels you use.)
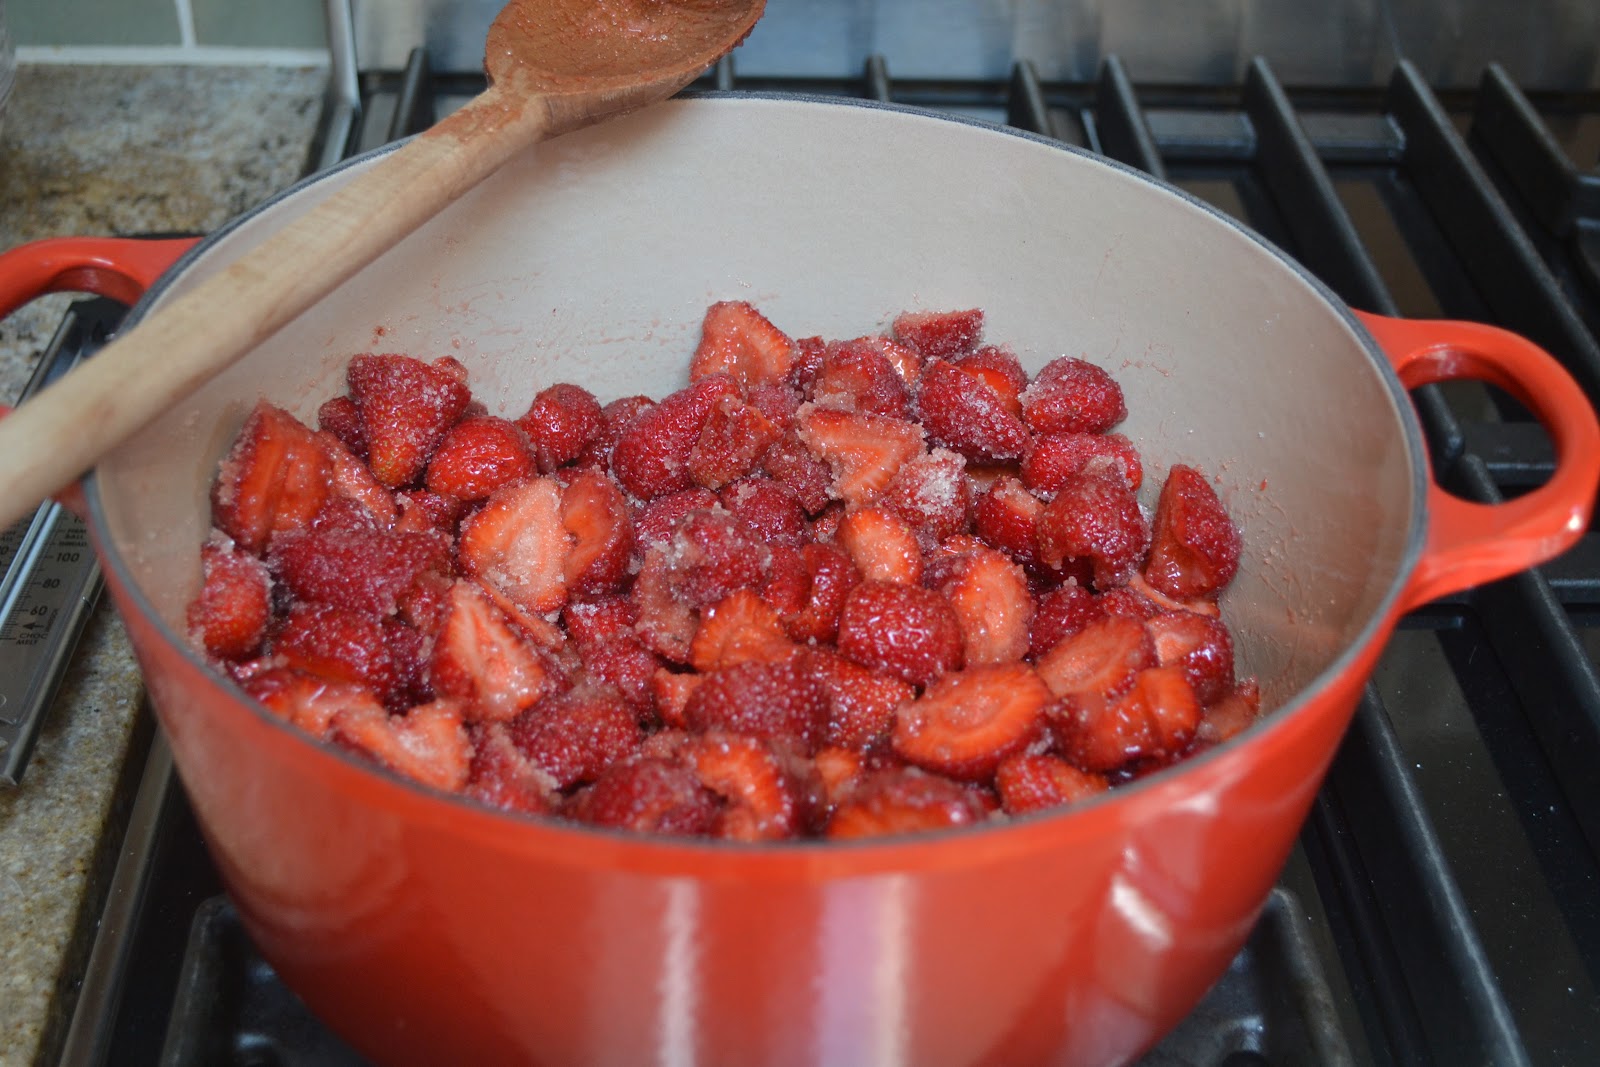
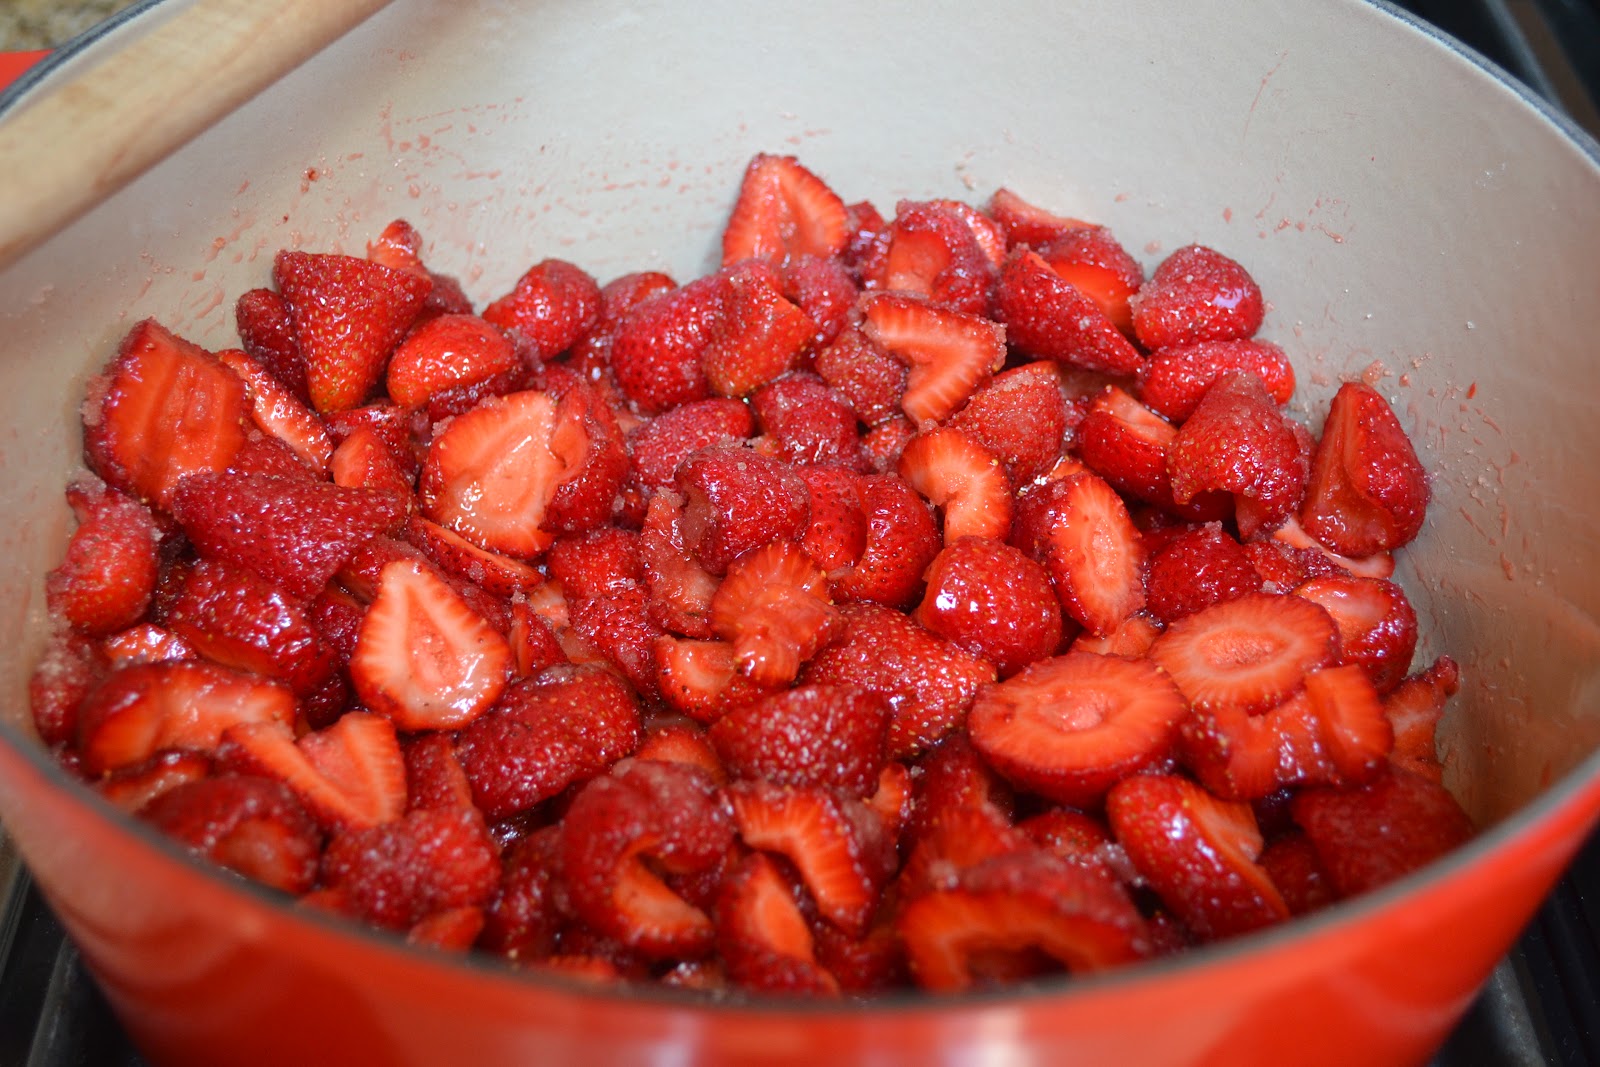
2. Combine the strawberries and 2 cups of sugar in the pot you will cook them in or in a large container that can store in the fridge. Ideally, let the mixture sit for 15 to 30 minutes and then place in the refrigerator overnight. The sugar will pull the liquid out of the berries  and help them to start breaking down (the process is called maceration). I didn’t have time for this so I let them sit for for more than hour.
Once the sugar has completely disappeared and there is juice in bottom of the pot, the berries have broken down enough to start making jam. The longer they can soak in the sugar, the better.
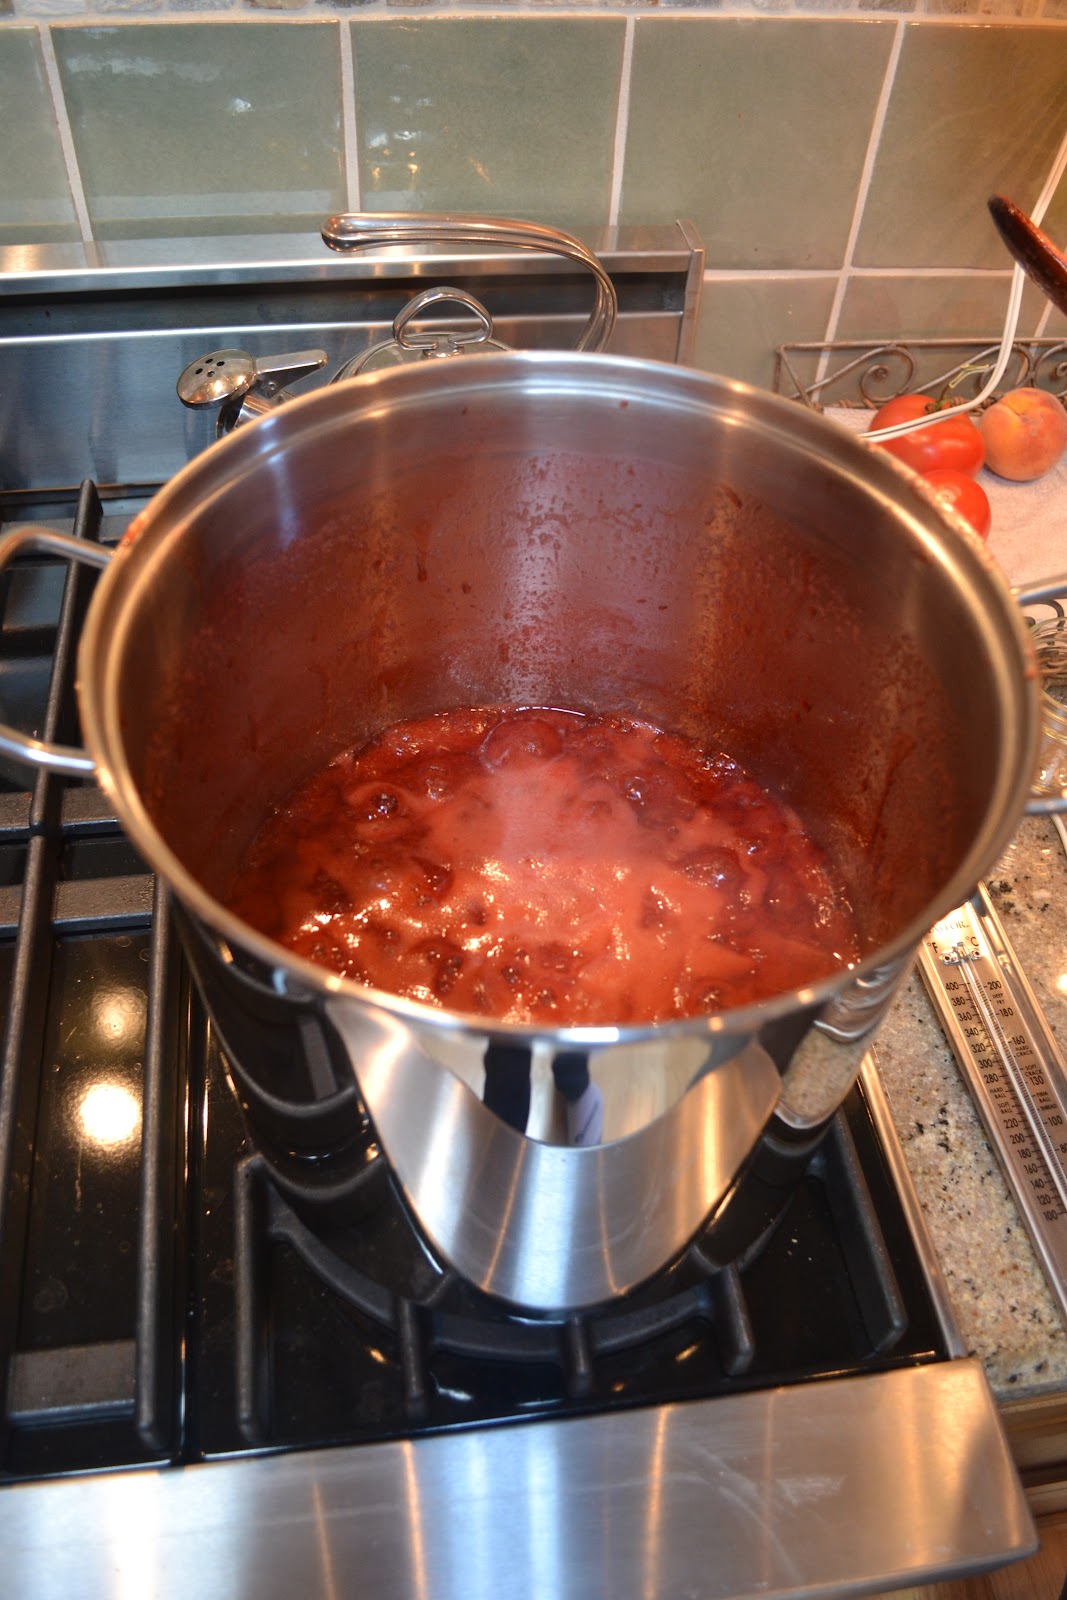
Sixteen cups is a lot of strawberries (an entire flat worth), so when you are ready to start cooking the jam, be sure you use a pot with PLENTY of room. I originally thought this pot was ginormous and WAY too big for my jam, but I almost boiled over it (you can see how much this jam foams and grows in later pictures). Trust me on this one, go big.
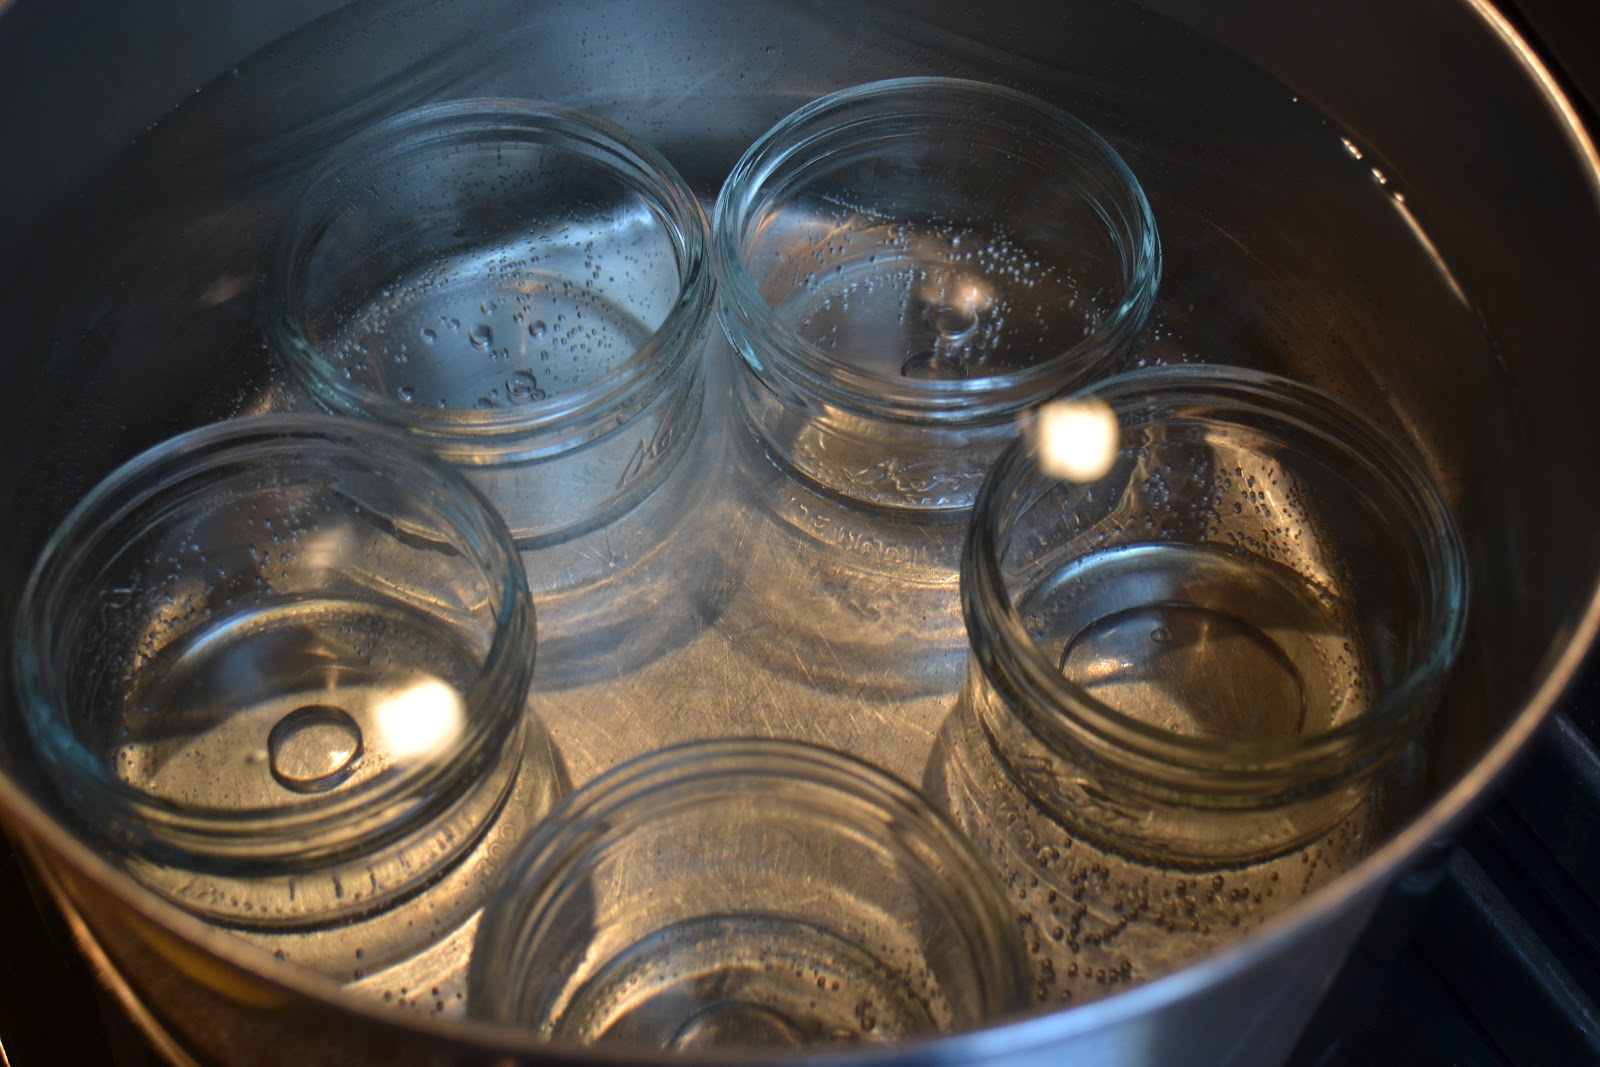
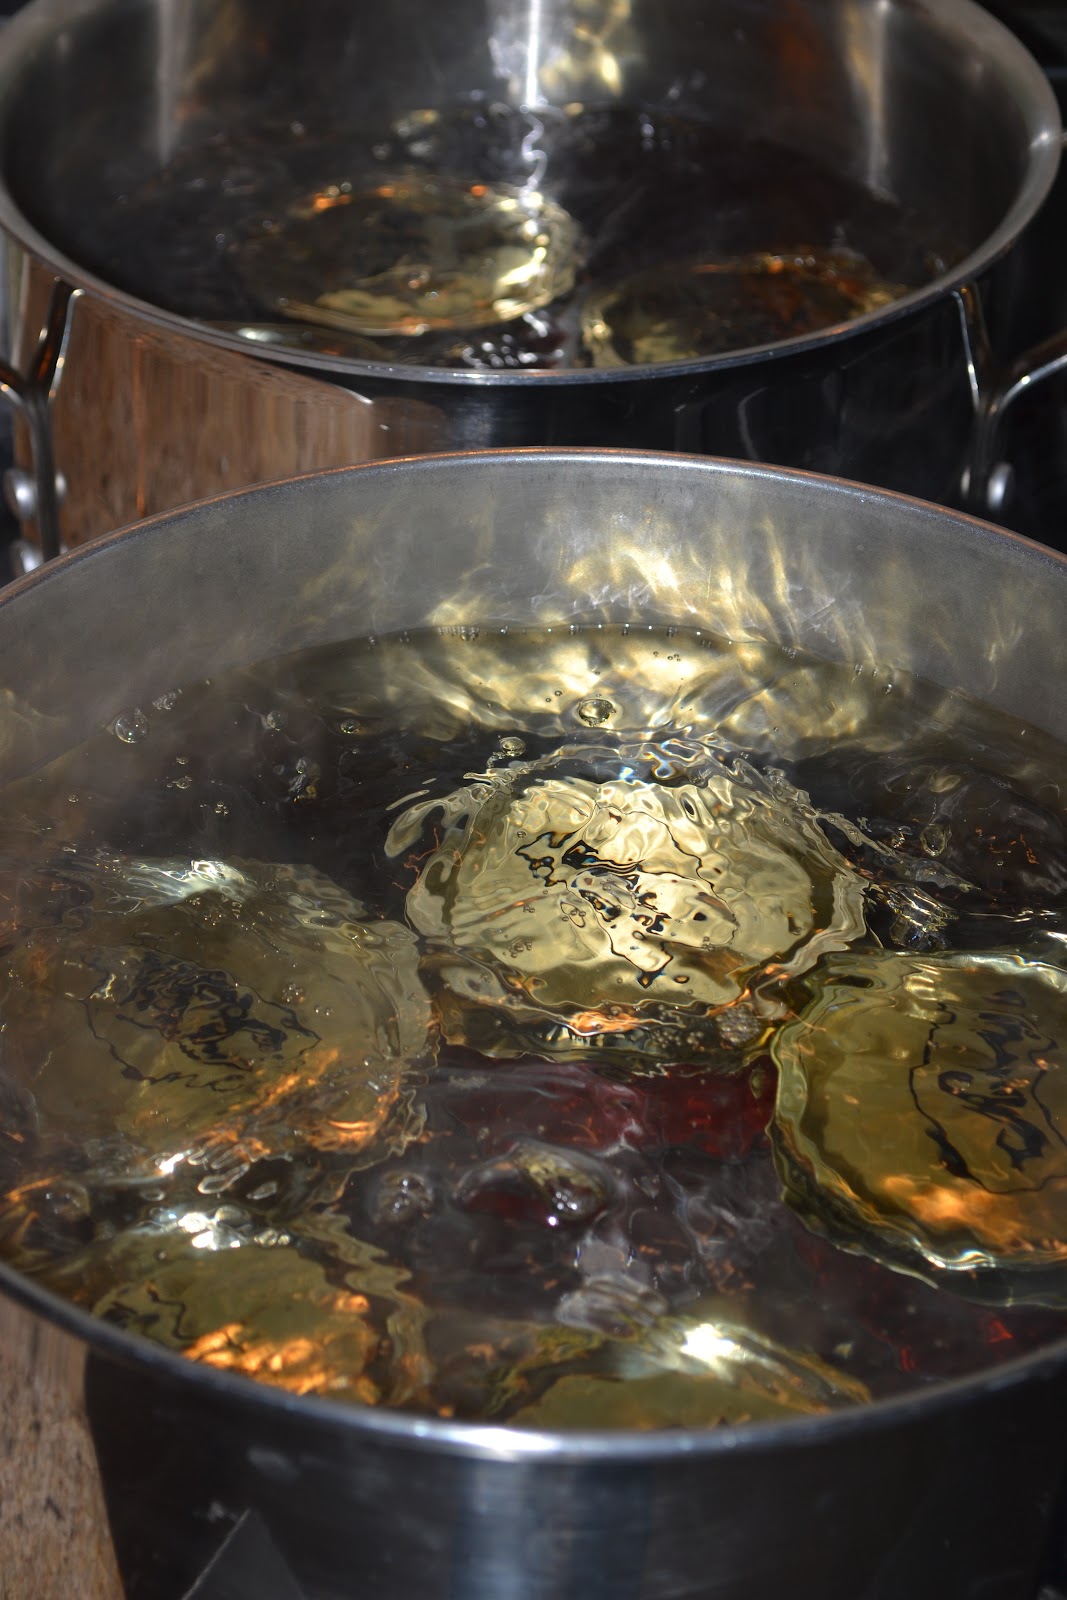
3. When you are ready to start cooking the jam, place jars into a large pot and bring to a boil. I followed these instructions for how to prepare my jars. If you do not do this you can make someone really sick and your jam will only last a week or two. This is incredibly important!
4. Combine all of the ingredients with the strawberries in a nonreactive pot and be prepared to be camped in front of the stove for about an hour. The upside, you get a great arm workout and a little facial in the process.
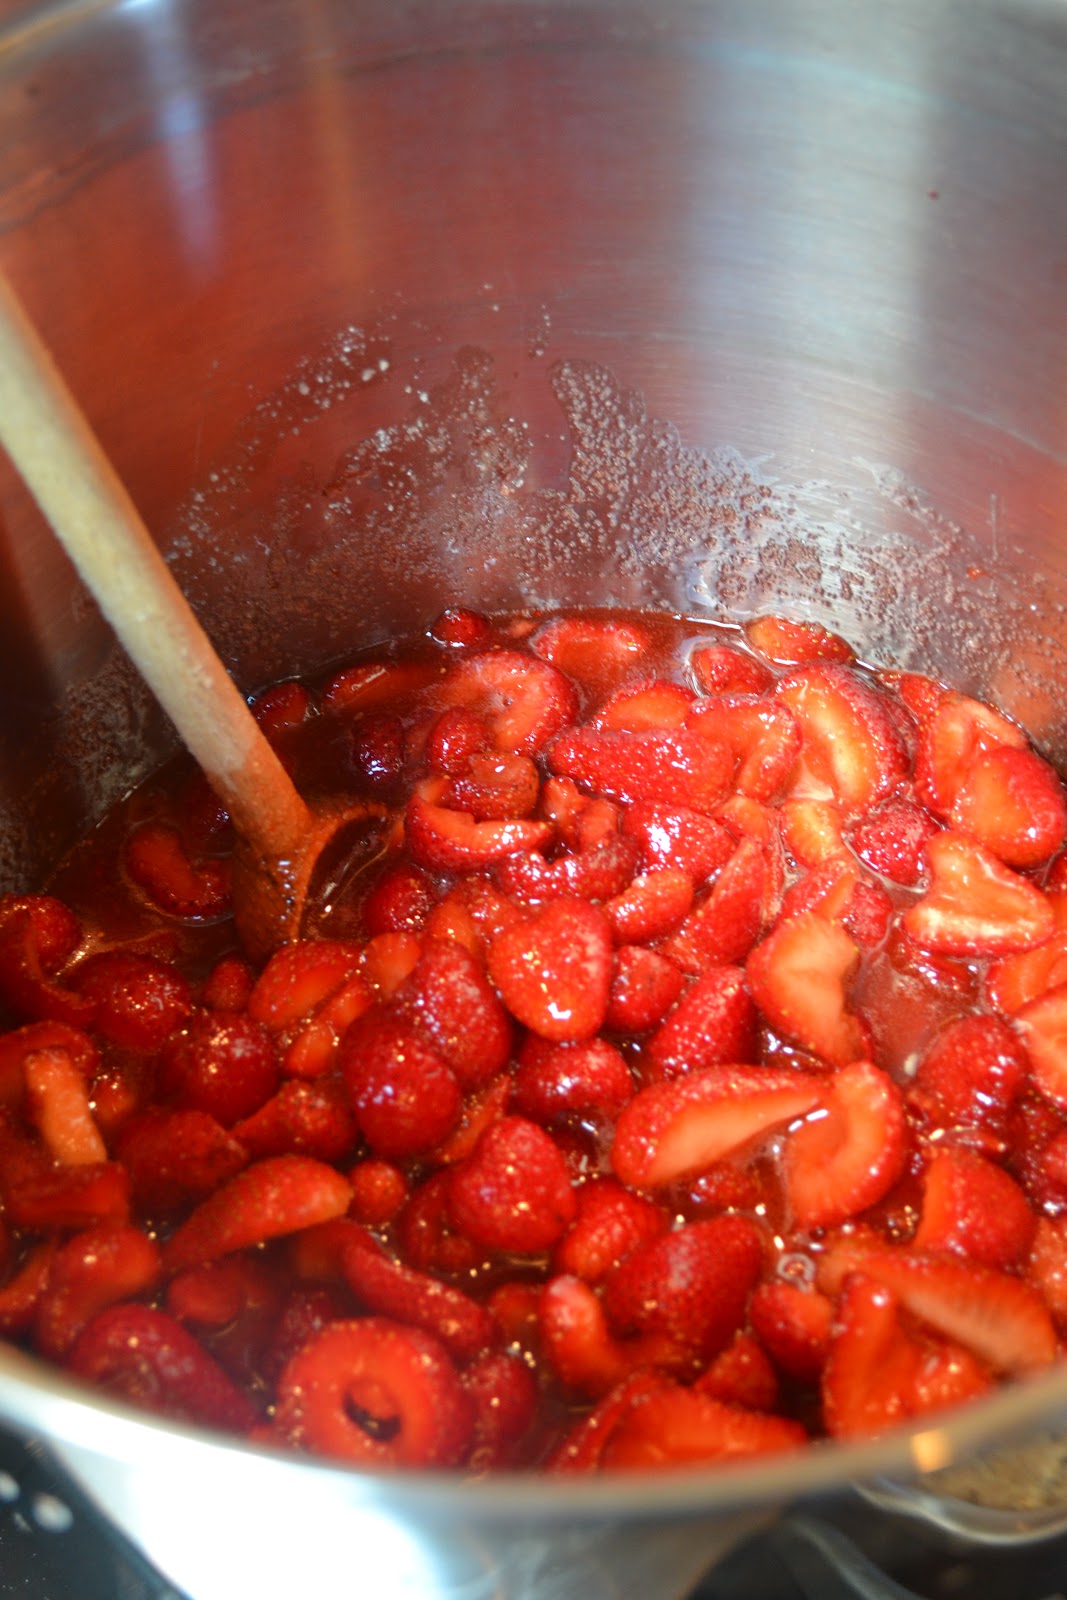
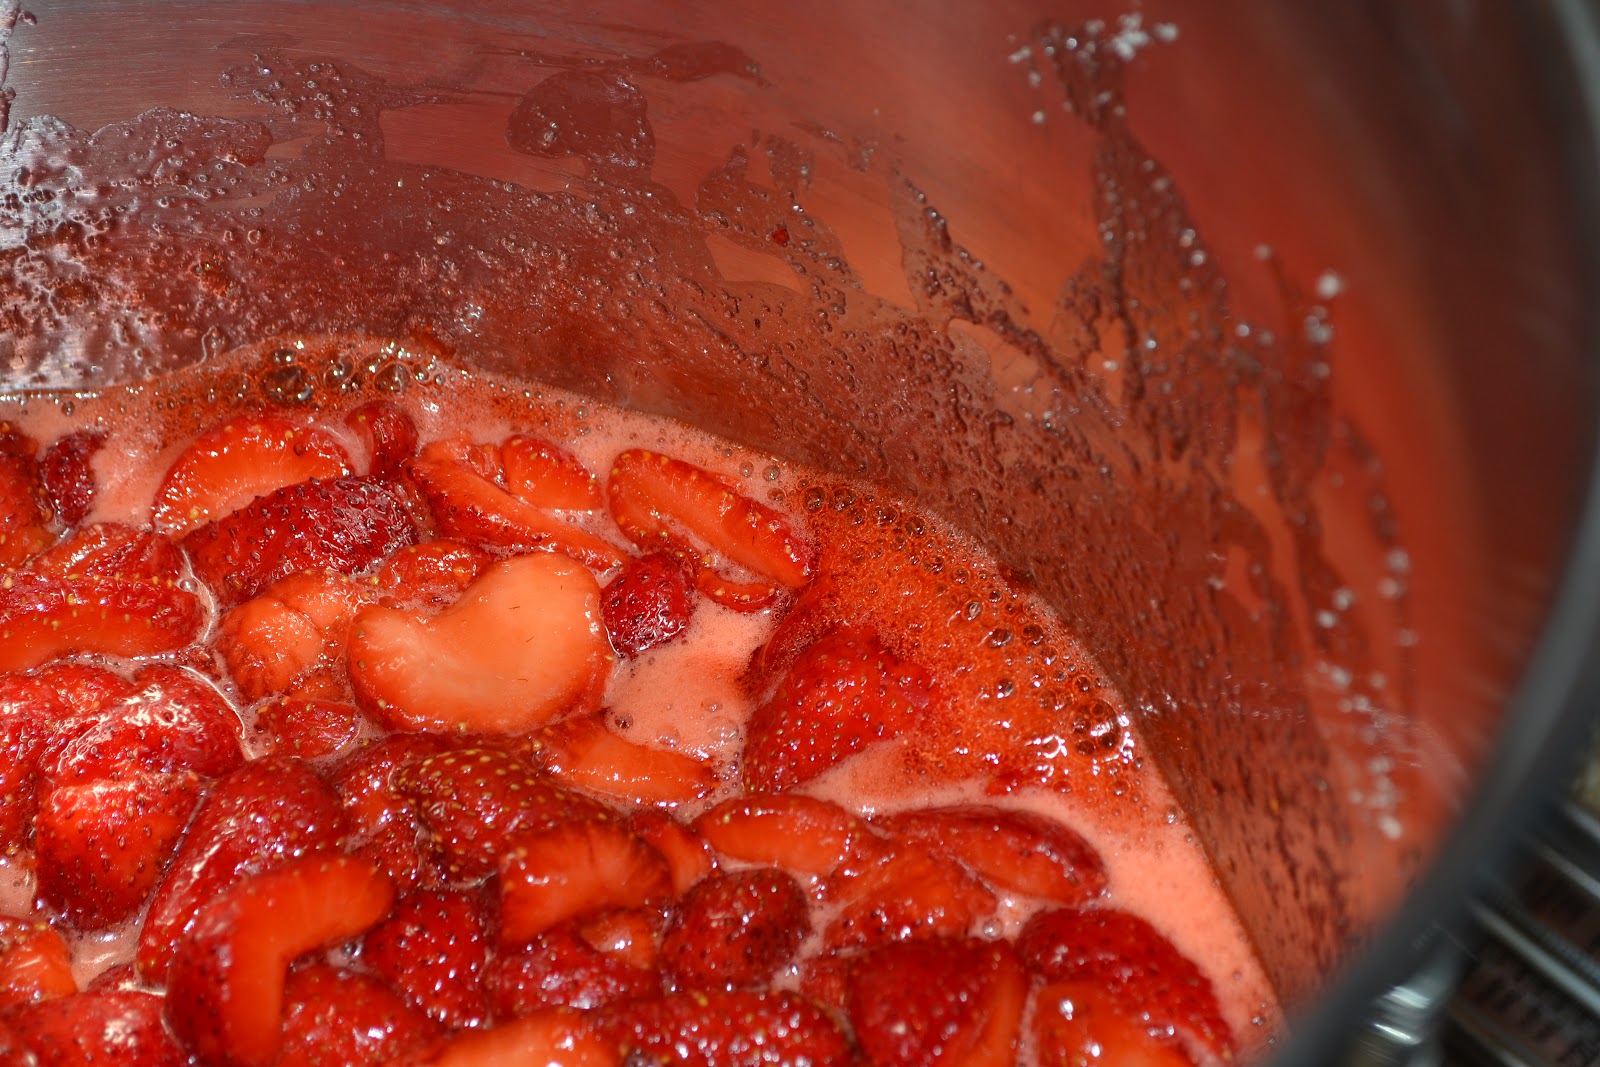
5. Turn up the heat to high and start stirring. It seems almost impossible in the beginning, but the heat quickly breaks the berries down and this gets so much easier.
6. Keep stirring and watching the soon to be jam carefully. Once it comes to a boil continue to cook it on high heat stirring regularly.
Watch out, this is when it really foams up. My jam foamed to nearly twice its size! This is why a huge pot is a must!
If the foaming gets out of hand, turn down the heat a bit and stir faster. Once I did this my jam went back down and it was more manageable and less terror inducing.

Meanwhile my jars and ladle were being sanitized and prepared for my tasty jam.
7. Once your jam has taken on a thick, syrup consistency, use an immersion blender to remove some of the larger chunks. You can also place 1/3 in a regular blender and then add it back into the pot. I accidentally overdid this part and my jam is basically completely smooth. Blend less than you think you need to. It’s hard to see how many chunks you really have under the thick liquid and the foam, so take it slowly.
8. Turn the heat back on and let it boil vigorously until it reaches 220 F (105 C). If you don’t have a candy thermometer (which I would highly recommend, it’s great for a lot of baking applications). You can tell it’s ready to be canned when the bubbles look thick and syrupy, and when you dip a spoon into the liquid it runs together and forms a a sheet (if instead it falls in drips singly and are very liquidy, it’s not ready and it needs to keep cooking).
9. Remove the pot from the heat, grab your ladle, and jam it into your jars. Be careful, your jam and your jars are super hot! Use towels to handle the jars (being careful not to touch the inside since it has been recently sanitized, and keep in mind that the jam will stain, so use rags or something red). Fill it almost to the top, leaving a 1/4 inch space at the top.
10. Wipe your jars completely clean around the top before placing your lids on or they will not seal properly.
11. Put on the lids and place the full jars back into the boiling water for 10 minutes.
12. Pull out your jars and let them cool on the counter. Be sure none of the jars are touching and that they are in a draft free place.
13. Be sure your jars have sealed properly by pushing down on the lids. If they are tight and have buckled in a little bit you have a proper seal. If your lids still pop when you push down on them, they did not seal and you need to store your jam in the fridge and consume within two weeks (or carefully freeze it).
If your lids set properly, store in a cool, dry place for up to a year.

One batch can easily last you up to a year (unless you are like me and practically drink the stuff). It is way cheaper than buying organic strawberry jam. It also makes great gifts (just be careful not to eat it all before Christmas). Mine will be divided up between my neighbors and my family.

Speaking of all of this jam, I think it’s time for some toast.

Last few days of break

I am mourning the loss of sleeping in, eating hordes of baked goods,  being able to read the books I wanted instead of ones that were assigned, and being able to watch hours on end of How I Met Your Mother. 


In order to fuel my mourning session I am making homemade angel food cake and chocolate cupcakes (although I am giving away the cupcakes). I ended up having 12 egg whites left over from making a birthday cake, which I did not post about because it was quite the failure. It was somehow bitter, didn’t rise enough, and was not that flavorful. 

The horrible cell phone picture supports how I feel about the ugly thing

Once I am done baking (and kicking myself for completely forgetting about an appointment that I had this morning), I will not only move on from my pathetic attempt to hold on to the wonders of Christmas Break, but I will also share an interesting article for anyone hoping to shed some holiday pounds, sustainably of course. 

Repurposed gift wrap

After Christmas (and before) I had little inspiration for wrapping a birthday present. Thankfully my mom bought a pair of shoes that came in an amazing box  – it was visually interesting, and it didn’t need anything else. I wonder how many other interesting boxes I have thrown out that could have been reused in one of many ways. 


Holiday slump

I am always exhausted and worn out after major holidays, especially Christmas. The hours of baking, onslaught of company, and what seems to be an endless amount of dishes after each and every meal leaves me tired for days afterward. Yesterday I finally gained some strength and patience to clean the entire house. It feels better to have everything back in it’s place and the mess of the baking and everything else taken care of.

Due to my dismal, tired state, I won’t post anything magnificent today. But in the near future I will post some green cleaning tips that work amazingly in the dorm, or any other living space. I also read a great book, one that I will tell you all about tomorrow, that has inspired me to put in more effort to cook for myself this coming quarter.