Treading Lightly
Treading Lightly

Living sustainably on a budget: Plates and bowls

When faced with the task of feeding 6 people 3 meals a day, plates and bowls were a main concern. In order to not be constantly washing dishes we need enough dishes to be able to make it through an entire day of meals without being left with just the counter to eat off of.

Instead of trying to find 8 or more dinner plates, smaller plates, and bowls on Craigslist, eBay, or in used stores I decided to buy two sets of dishes. I chose plain, timeless, white dishes that are easily replaceable if we break a few.

Image courtesy of Crate and Barrel
Although buying them used may have been cheaper, I wanted something that would last long after I am out of college in two years. It is also difficult to find enough of each size dish at a low price unless you get incredibly lucky.

Favorite summer locations: library

Every time I am at the library I always wonder why there are not more people there. It seems like most of the people who understand the amazing resource that the library is are over 50. Where is my generation?

It seems as though my peers are are constantly watching something on TV, going to the movies, listening to music, or playing around on their phones. Whenever I pull out a book I get the weirdest looks, like I’m practicing math equations instead of reading an enticing story about a chaotic trip to France. It seems like people think that reading is only for learning and education and never for pleasure or fun.

Image courtesy of WeHeartit.com

So for those of you who cannot remember the last you stepped foot in a library or read without the threat of an essay or a test, here are my top reasons I love libraries:

  • The options are endless! There are no limits on what I can borrow including books, magazines, comics, music, newspapers, and DVD’s. (I do not think people realize that the library has way more than books these days).
  • It’s wonderfully quiet. Whether I am studying at school or on a break from work, I enjoy being in a quiet spot.
  • It’s free! Over the summer I read about a book a week, which would be a ton of money if I was always heading to the bookstore. The most I pay for a book is 75 cents — the fee for requesting a book from another library.
  • I never have to make room in my tiny bedroom/dorm for piles of books. I read it and send it back.
  • Libraries are a great way to decrease your material consumption without sacrificing anything. Because the books are used by so many people and stored in one place it cuts down on the carbon for creating and shipping all of those books to every person who borrows them (assuming they would have bought the book instead). It also means that you are not increasing the use of paper made from virgin wood.
  • If you are picky and pick up a book/ music/magazine/ect. only to realize you hate it, then the library is the place for you. When I hate a book I just give it back and try something else.
  • Before you write off the library as some antiquated place that is slowly dying out, consider all of the things it can give. You can learn how to do something (through free classes or books), read a book, listen to music (and put it on your iTunes), read a magazine, escape from the heat or noise, rent a movie or a TV series, meet some new people, and get endless ideas.

Living sustainably on a budget: Pots and pans

I have been looking for pots and pans since about May with little luck. I really wanted to buy nice, used pots to save money and resources, but it seems as though no one really gives them up. I stalked Craigslist and eBay regularly with little reward.

Ultimately I ended up buying a new set off of overstock.com. For $25 per pot/pan with a lid, the price was reasonable for the quality and durability of the set. Although this is more money than I had hoped on spending, they are items I will have long after I leave college.

Image courtesy of overtock.com
For everyone else who cannot beg your parents to buy new pots and pans for you I have a few suggestions:

– Watch craigslist and local used stores
– Do not be enticed by extremely cheap pans. They break easily, have carcinogenic materials in the non-stick surfaces, and will not be economically or environmentally worth the money you paid for them in the first place.
– Beg your relatives for their pots and pans. It’s helpful if you can convince them that new ones might serve them better or that the one pot isn’t being used anyways.
– Buy one large pot and one large pan to start. You can make most dishes with a single pot/pan.

Lemon Bars

These lemon bars are a quick, easy fix for everyone who loves lemon desserts. They are also easy to share and a simple recipe to make. My only complaint is that everyone eats them so quickly that I never get as many as I would like.
Crust ingredients:
2 cups all purpose flour
1/2 cup powdered sugar
1 cup butter (not fully chilled or room temperature. To make the best crust it needs to be hard enough to hold together and “crumble,” but not so cold that it does not want to incorporate with the rest of the ingredients.)

1. Heat oven to 350 degrees F
2. Combine all crust ingredients with a mixer at low speed until it is “crumbly.” If you over mix, your crust will be difficult to bite through. Stop mixing when it looks like the picture here.

3. Press the mixture evenly in the bottom of an ungreased 13×9 inch pan. Do not press it into the pan as hard as you can. Instead, try to make sure there are not any visible air pockets or mixing places in the crust. Also, be sure to make your crust level or your lemon topping will be thinner on some than others.

Crust that looks like this is perfect. It will not let the lemon filling dribble through to the bottom of the pan and it will be light and airy when you bite into it.
Filling ingredients:
4 eggs, slightly beaten
2 cups sugar
1/4 cup flour
1 teaspoon baking powder
1/4 cup lemon juice
About 1 tablespoon of lemon peel (or the peel from 2-3 lemons)
4. Combine all ingredients except lemon juice
5. Add in the lemon juice and peel
6. By now the crust should be finished with its 20-30 minute baking time. Remove when it is lightly golden brown.

7. Pour the filling over the crust (it can go on immediately after you remove the crust from the oven).
8. Put it back in the oven and bake for 25-30 minutes — until the top is lightly golden brown

9. Cool the bars completely. Add a light dusting of powdered sugar to the top and enjoy. Because of the filling these MUST be kept in the fridge.

Living sustainably on a budget: Sustainable school supplies

I know this makes me sound incredibly nerdy, but I am already kind of looking forward to school starting (although I am glad I do not start school until September). Even though I may not be going back to school this month, students across the country are.

Before you rush out to the store to get your school supplies I have a few tips that will save you money and help you find sustainable school supplies.

1. Make a list. Plan ahead for items you will need for each class. There are some classes where I know I will use my computer to take notes and other classes where I need a notebook. I also know which classes I will need a binder for. Planning ahead not only means you will have a game plan for what you will need, it also means that you will not buy more than you need.

2. Stay away from plastic! I know it’s often the cheapest option, but most plastic items do not last — in the long run plastic can easily be more expensive. Plus plastic does not break down in landfills and it leaches harmful chemicals throughout its creation, use, and end of life.

3. Search for items that are made out of cardboard, wood, soy inks, and other eco-friendly materials. (They are typically also more  visually interesting and different from what most of your classmates or office mates will have.)

 Image courtesy of Greenroom
4. Re-use everything you can from last year. Who says we need new materials every school year. If it still works, why toss it?

5. Buy recycled paper and materials. Instead of chopping down trees for a new notebook, show recycled paper a little love.

6. Streamline your materials. Do you really need a pencil case that goes inside of a bag inside of a bag? How many pens, pencils, markers, erasers, and everything else do you really need? Use the bare minimum instead of stuffing your bag.

7. Try to buy pens that you can refill, are compostable, or are made out of wood. The less plastic the better. Normally I can make it through the year on 3-4 pens (or less if you type most of your notes).

8. Refill your printer ink! Stores are starting to support filling the cartridges (including Costco). It may take a bit of research to find a place near you, but it will not only be better for the environment, but also save you a ton of money! (Cartridges can be incredibly expensive. To refill mine I spend $7-14 instead of $20-40.)

If you are unsure of where to find some of these materials, you can find them in person at Target, Office Depot, and online at GreenRoom, Rebinder, The Naked Truth, and The Green Office.

Blueberry Peach Buckle

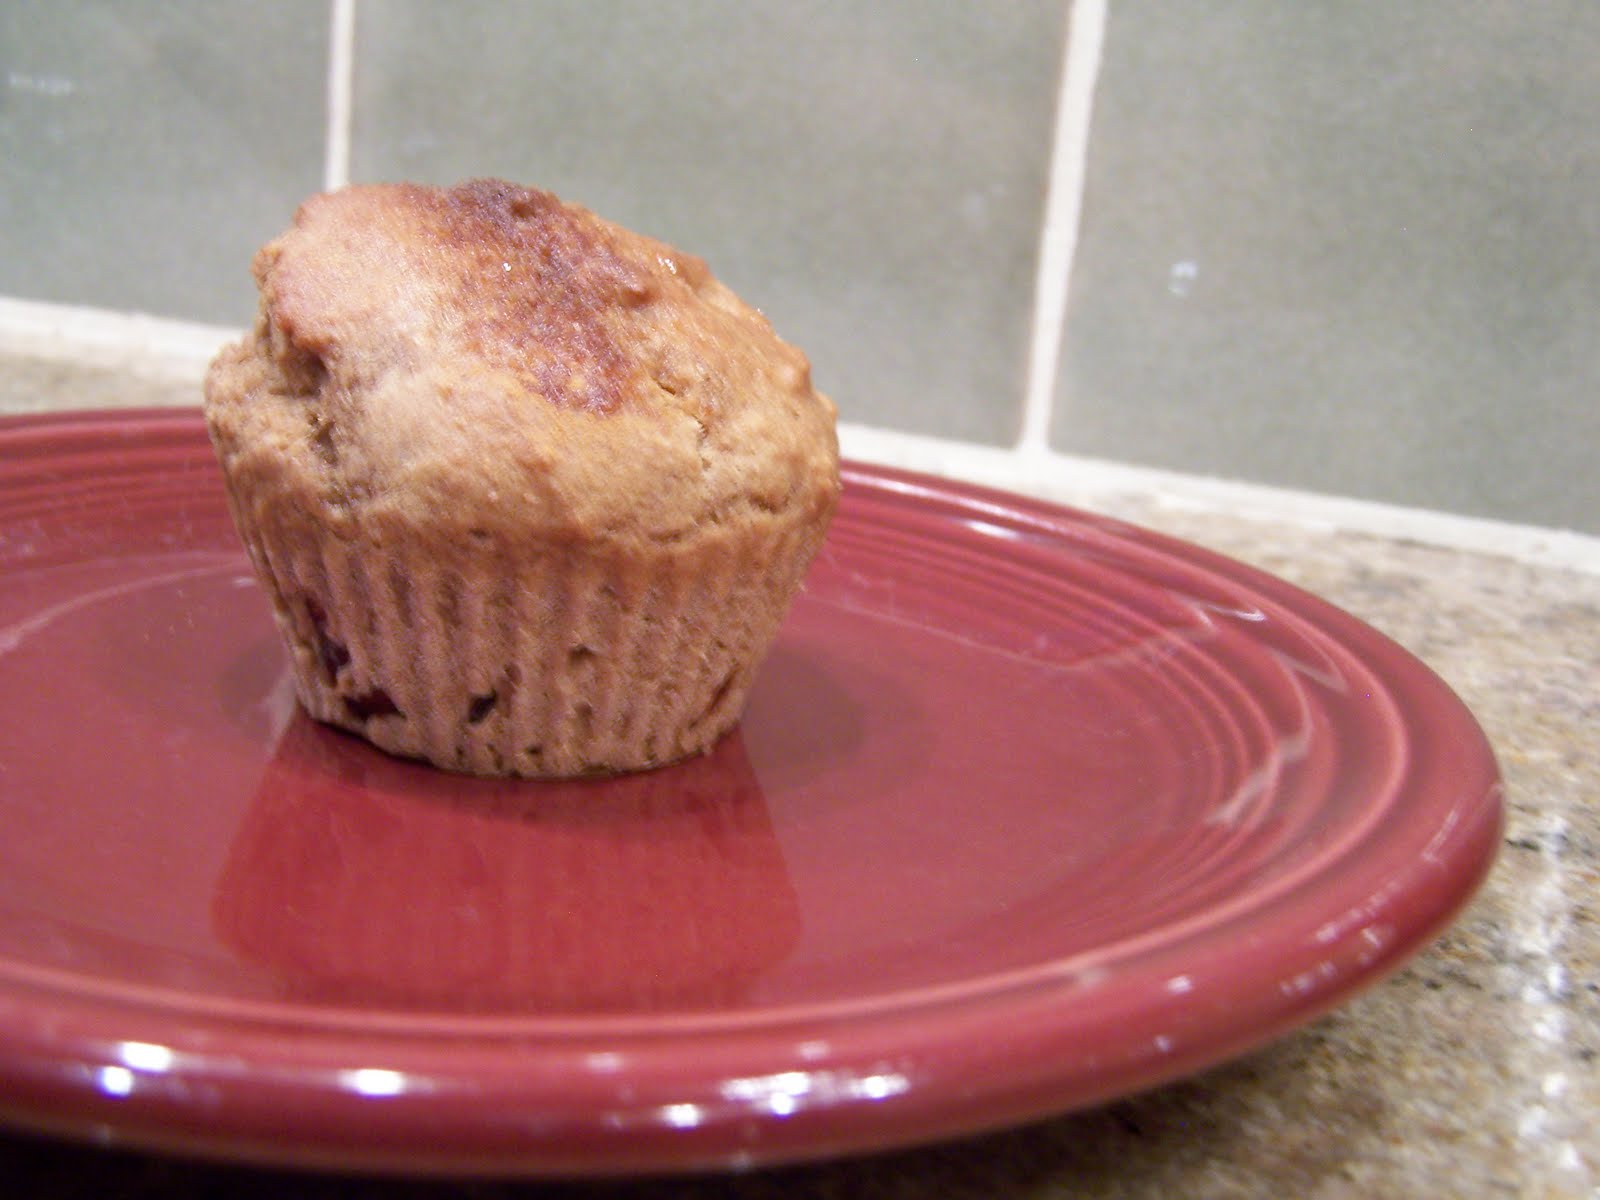
With all of the beautiful summer fruits my mom decided we should try making this buckle (for those, like me, who did not know what a buckle is, it is a lot like a coffee cake, but it is more moist). It was a quick way to use up some over ripened fruits that would have otherwise gone to waste. Not to mention that it was delicious.

Topping ingredients:

1/3 cup butter, cut into small pieces
1/2 cup brown sugar
1/4 cup all purpose flour
1 teaspoon cinnamon
1 teaspoon fresh ginger, peeled and grated

1. Butter and flour an 8 by 8 inch pan
2. Preheat the oven to 350 degrees F
3. In a small bowl combine the butter, brown sugar, flour cinnamon, and ginger until it resembles coarse meal (our brown sugar has more moisture because it is less refined, so our topping did not come out as course meal but rather more of a paste). Set aside.
Batter ingredients:
1 and 1/2 cups flour
1/2 teaspoon baking powder
Pinch of salt
1/4 cup butter, room temperature
3/4 cup brown sugar
1 teaspoon vanilla extract
3 large eggs
2-3 cups wild blueberries (you can substitute frozen if fresh are not available)
2 ripe peaches, peeled, pitted, and sliced

4. Make the batter by sifting together the flour, baking powder, and salt. Set aside.
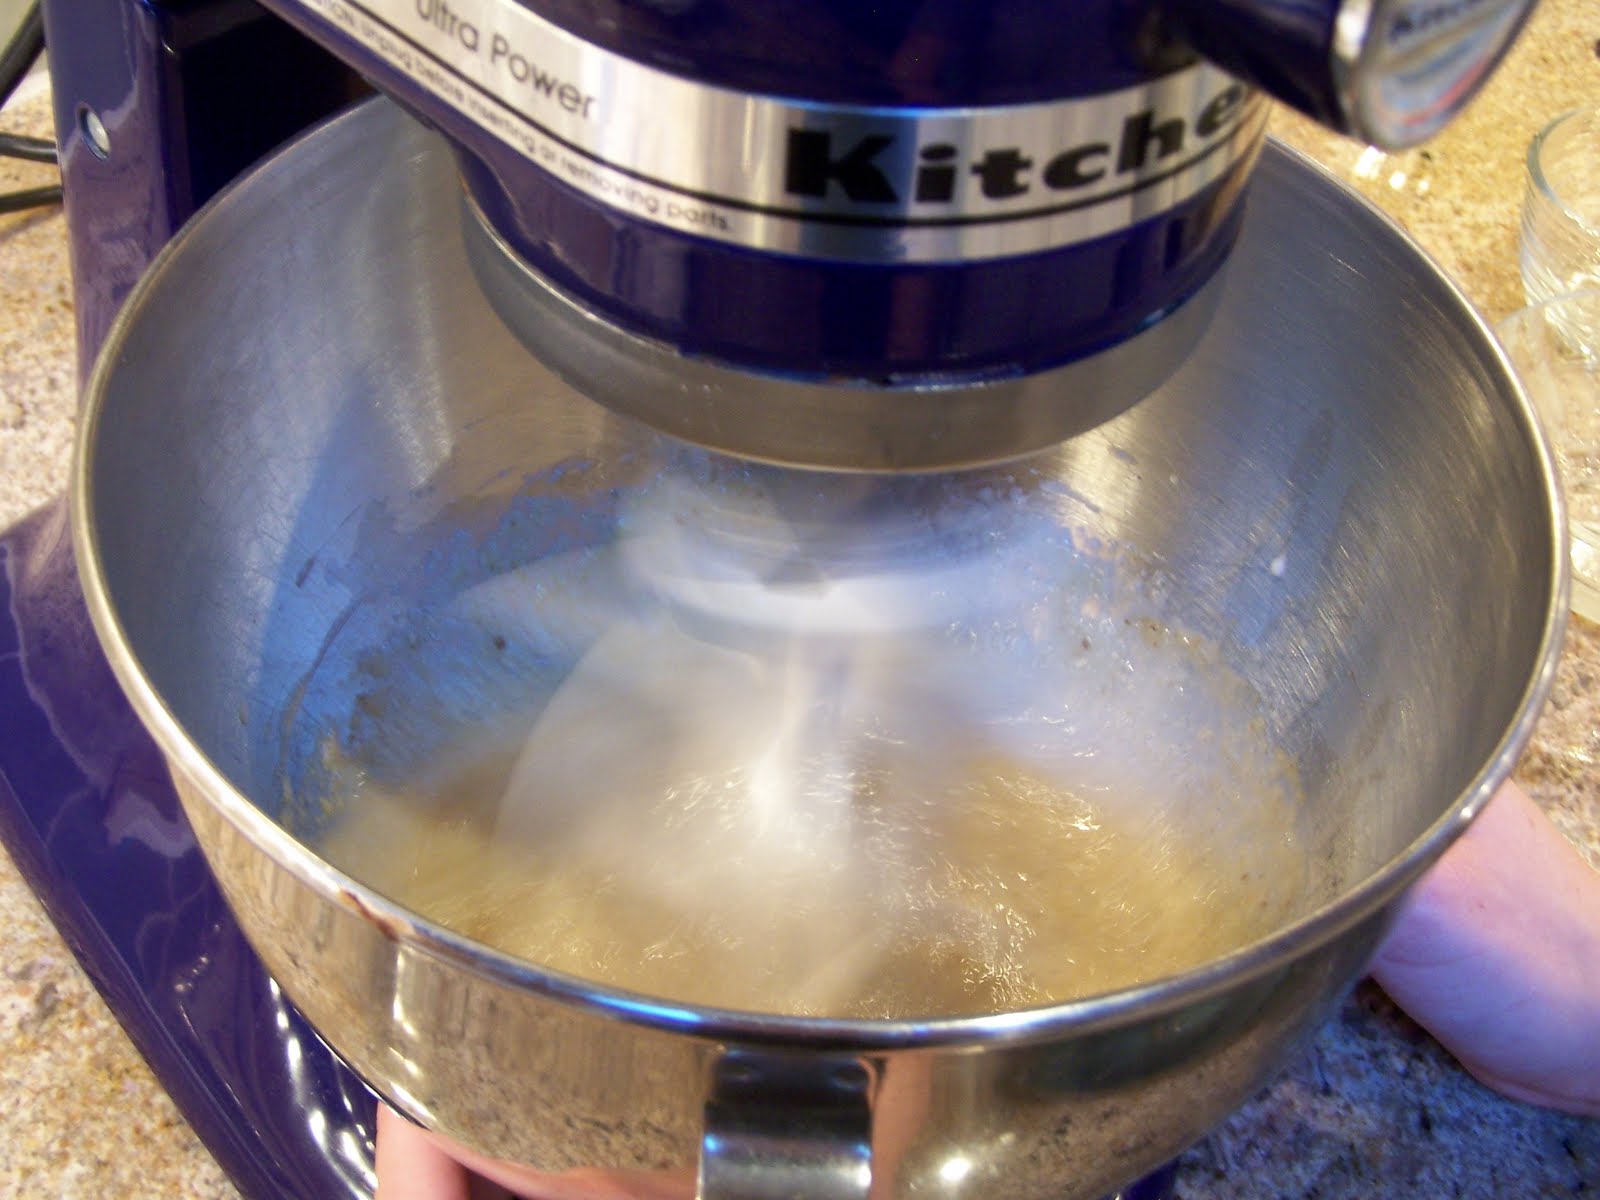
5. Use an electric mixer to combine the butter and brown sugar until creamy and soft (about 3-4 minutes)

6. Add the vanilla
7. Beat the eggs into the flour mixture one at a time until just combined.

8. Prepare your fruit-
– Rinse berries and allow to dry somewhat
– Cut an X into the bottom of the peach. Drop the peach into boiling water for about a minute to loosen the skin. Remove with tongs or a slotted spoon and rinse in cold water. Peel the peach. If the skin does not come off right away, drop it back in for another minute at a time until it does.

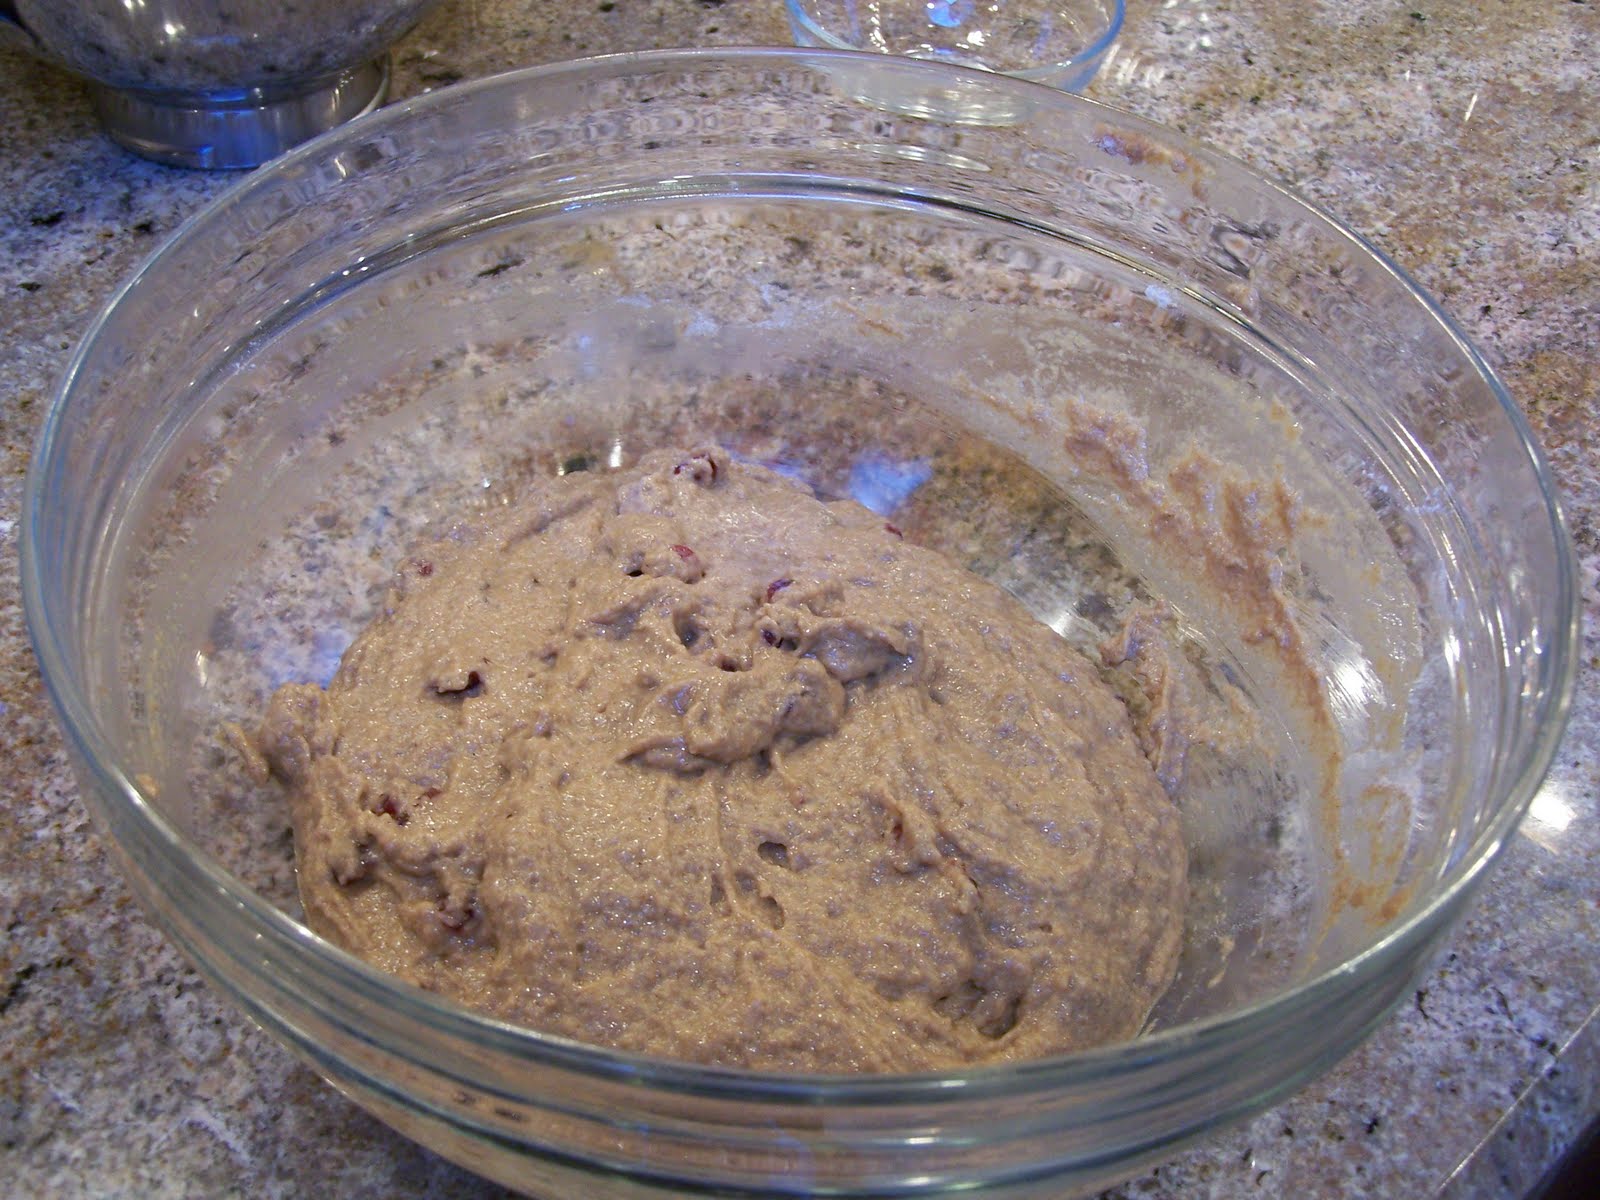
9. Fold the berries and the peaches into the batter. (We used one peach, about half of a clam-shell of black berries, and a whole clam-shell of blueberries. It was an alright amount of fruit, but it would not have been bad with a bit more.)

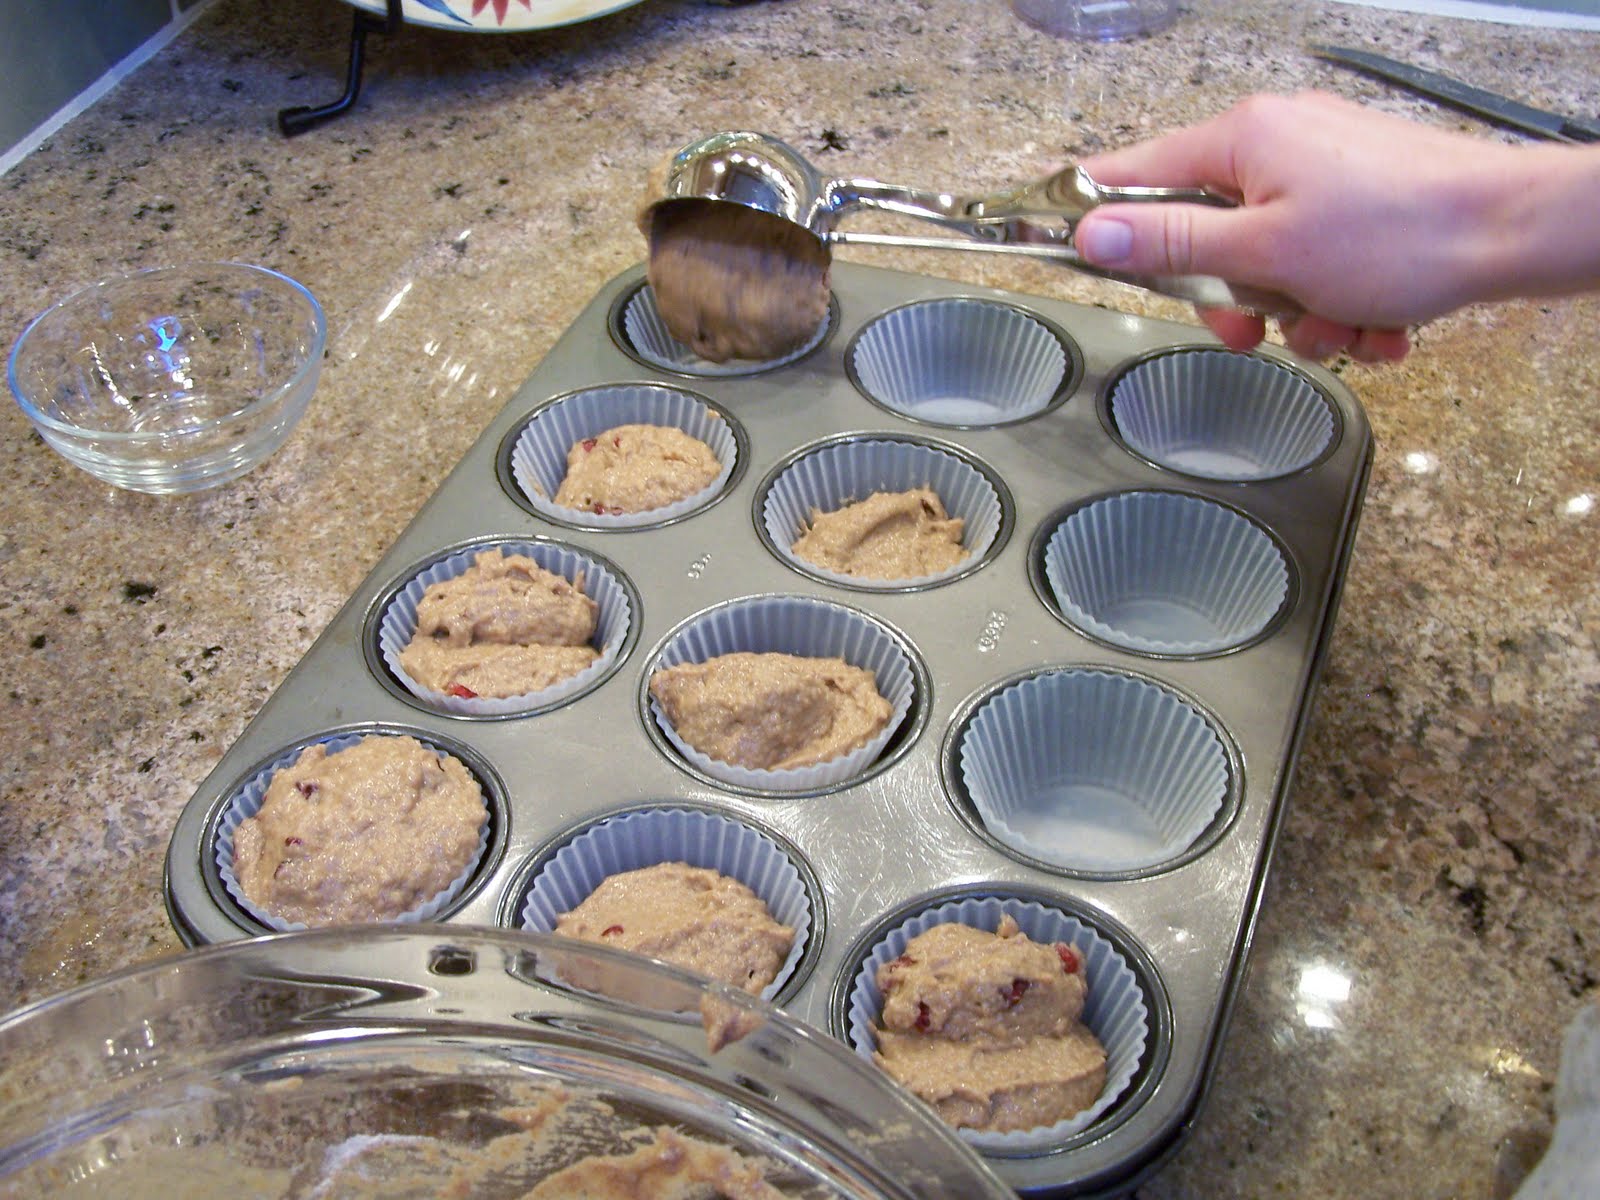
10. Put your batter in the prepared dish and cover with the topping. You are supposed to be able to shake it on, but because ours was so moist we had to drop it on (sorry it looks so gross. I promise it still tasted good).


11. Bake for 45 minutes or until a tester comes out clean and the top of the buckle is golden.

Sorry, I unfortunately didn’t get pictures before it was eaten…

Recipe courtesy of “Handle With Care” by Jodi Picoult (A great book!)

Living sustainably on a budget: Furniture

Typically your first few years of dorm life (or when you are living at home) furniture is provided for you, but once you move out on your own (or into housing with minimal furnishings) furniture becomes an expensive necessity.

Although some places like Ikea sell their items fairly cheap, the quality can be poor and all of the items you need end up being quite expensive all together. So what do you do to furnish your place on as little money as possible?

Find things on Craigslist, eBay, goodwill/ used/ thrift stores, garage sales, and flee markets. Whether the items are in great condition and can be used right away or need a little TLC, the prices are hard to beat. Just remember to not ignore an item because it’s ugly, furniture is incredibly easy to change.

 Image courtesy of  Twolia.
Image courtesy of Design Sponge.

Be creative, find new uses for items you have already or for new finds. See if you can make something yourself to fill a need. As always, planning ahead makes a big difference — you can hunt for the best price/ item and have enough time to make all necessary modifications.

Image courtesy of Better Homes and Garden

(I am going to make one of these for my dorm/ room before the end of the summer.)

Need some ideas of what you can do to transform an item? Check out Apartment Therapy, Better After, Sunset, Tip Junkie, Design Sponge, and Pad Style.

Applesauce cranberry muffins

After the mess of trying to get moist cupcakes out of the silicon baking cups, I decided I wanted to try a sturdy muffin to see how it would work. I ultimately decided on this recipe because it looked good and I had all the ingredients. Another major bonus is that they are incredibly quick and easy. Although they turned out well, there are a few changes I would make them to in the future to make them more flavorful.

Ingredients:

2 cups whole wheat flour
1 tablespoon baking powder
1/2 teaspoon salt
1 teaspoon cinnamon
1/4 teaspoon nutmeg
1 egg white
1 egg
1/2 cup soy milk or milk
2 tablespoons vegetable oil
1/3 cup packed brown sugar
3/4 cup applesauce
1/2 cup dried cranberries

1. Preheat oven to 400 F
2. Prep your muffin tins (I used my silicon baking cups)
3. In a large bowl, sift together the flour, baking powder, salt, cinnamon, and nutmeg. (I just whisk it together).
4. In another bowl or mixer beat together the whole egg with the egg white.
5. then stir in the soy milk, oil, brown sugar, and applesauce.

6. Fold the wet ingredients into the flour mixtur until just combines

7. Fold in cranberries.

8. Fill muffin tins. The entire recipe makes 12 muffins.

9. Bake for 20-25 minutes, or until a toothpick comes out clean and dry.
10. Cool in the tin for 5 minutes before removing them.
11. I brushed on some melted butter and sprinkled a cinnamon sugar mixture on top because they were not as flavorful as I had hoped.

As for the fate of the silicon baking cups, I now love them. The muffins practically fell out of them. I really think the problem last time was that the cupcake mixture was incredibly too moist. Next time I will try to find the middle ground for a moist cupcake that is easy to remove from the baking cups.
The next time I make these I am going to add some cardamom, all spice, more cinnamon, more nutmeg, and more cranberries. I am also going to add a little touch of something to top (whether the cinnamon sugar again or large sugar crystals).
Recipe adapted from Moosewood Restaurant Low-Fat Favorites